You can do it in 3 ways. The usual way is corrugations which as a bonus, do not increase by much the volume of the entire filter apparatus, i.e. it doesnt become bulkier. Example

The second way is to change the filter from a flat surface to something 3D like a hemisphere, a cuboid or a pyramid. However, I haven't been successful at figuring out a way to do the first 2, I'm forced to do the third method.
The third method keeps the filter flat but simply increases the X and Y dimensions. As a disadvantage, you will increase the volume of the filter apparatus i.e. make it bulkier and you will need an adaptor which in this case is also an enlarger.
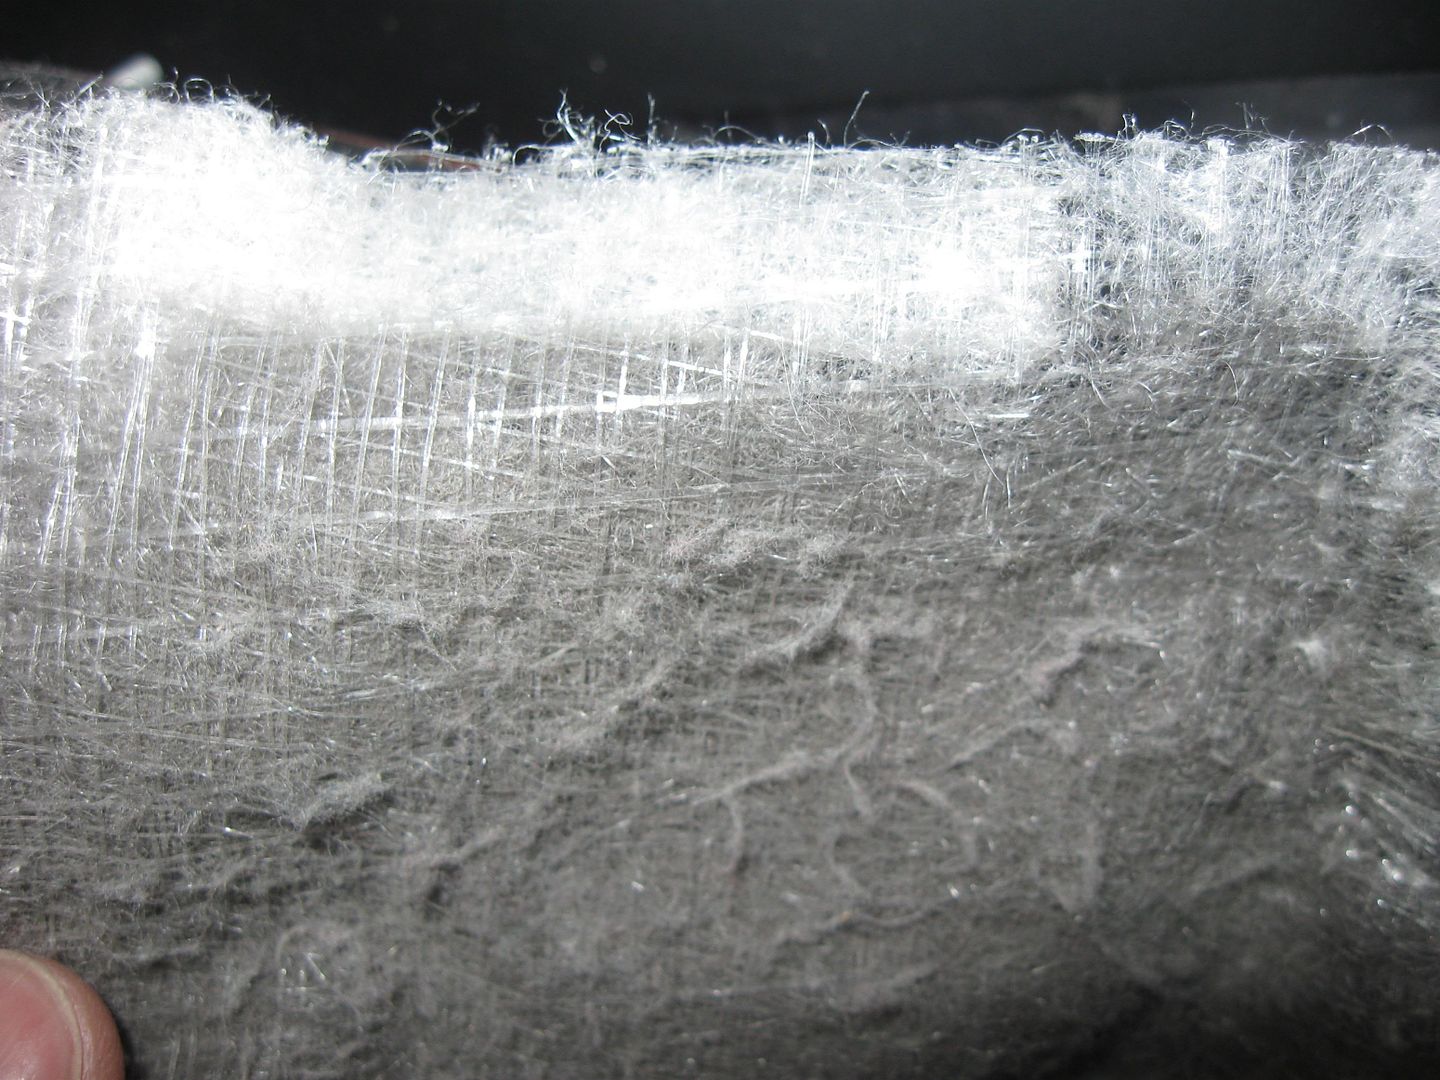
The 2 pics below are my filter on a 120mm intake fan after around 3 weeks. Pretty dirty.


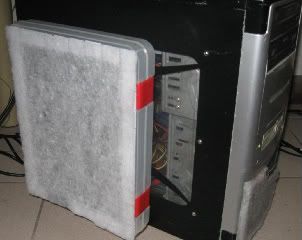
And that is why I got a rather large box. Its plastic so its light and cheap and not too hard to cut. Since only the X and Y dimensions need to be big, I can skimp on the Z dimension, i.e. its tall and wide but not deep. I present to you, an A4 document case. Hey, the larger filter surface area does mean it will take a longer time to clog up. Bulkiness and looks are of secondary importance to me so I will put up with this.

First on one side I mark the outline of the fan and the 4 holes for the screws.

Next I flip to the other side and drill a hole then move the drill bit sideways to create an opening for the tip of the tin snips to get something to hold on to.

While cutting with my not too sharp tin snips, The material started to crack so I placed masking tape around the perimiter to reinforce it. You may tidy up the cut edges with sandpaper, a file or a sharp knife.

Now flip to the fan side and repeat. The holes for the screws are already drilled and they are under the masking tape.


Now I think I made the hole a bit too small and the dull tin snips were hard to use so I just decided to make a few cuts and bend the edges to enlarge the hole size. Looks untidy but my hands were tired from using the tin snips

I next added self adhesive velcro strips, the hook side. I had to throw away the loop side.

I then re screwed it back on the side plate of the PC case. The Orange plastic thing is a previously existing. 120mm to 90mm fan adaptor. I didnt feel like cutting up my case that day.

Cut the 3m Filtrete filter to size and apply. The hooks of the velcro will catch the filter. Optionally you could tape the edges.

I also taped the seam of the document holder to make it more or less air tight.
And its done!

Link to a smaller version of the above picture.
The end

No comments:
Post a Comment