Tuesday, August 23, 2011

second generation LED maglite repair

If you read my older posts here, you know that my family has a few second generation led maglite 2AA flashlights. My mom uses hers practically every day. Lots of scratches and its fallen from the table a few times. But this time, the light died.

I was dismayed. I though maglites were indestructible! I initially despaired of being able to fix it and bought a cheap cdrking LED flashlight as a temporary replacement. A few days later, my mom asked about the flashlight and she suggested that I disassemble it and try to repair it.

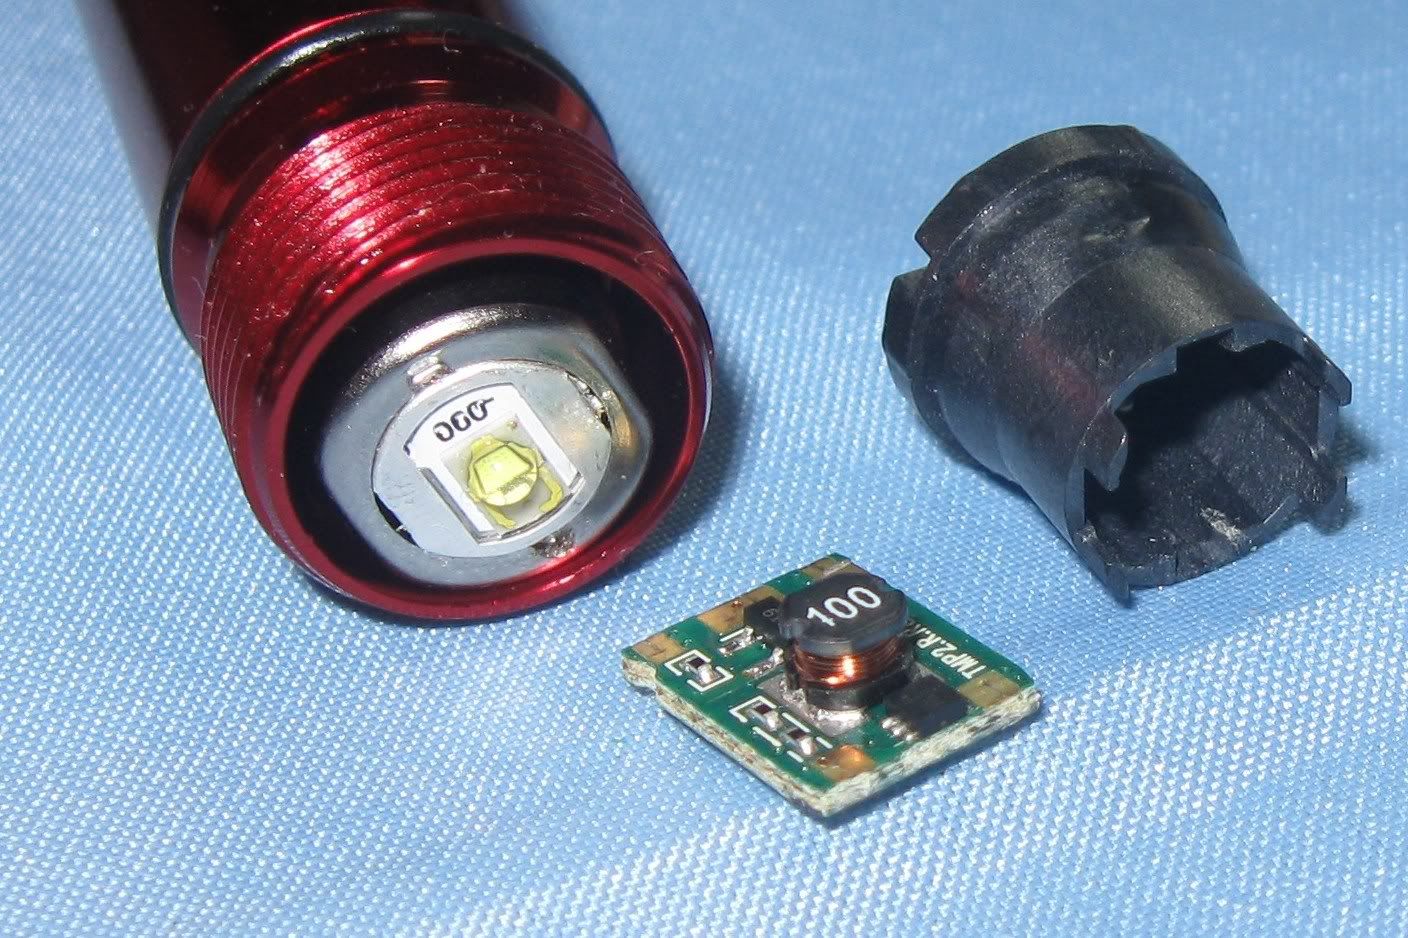
So now, I'm at my desk, poking and prodding at the flashlight. It was empty, i.e. no batteries. I removed the end cap and was poking the emitter head back and forth when this fell out. By the way, its normal for the emitter head to move like that.


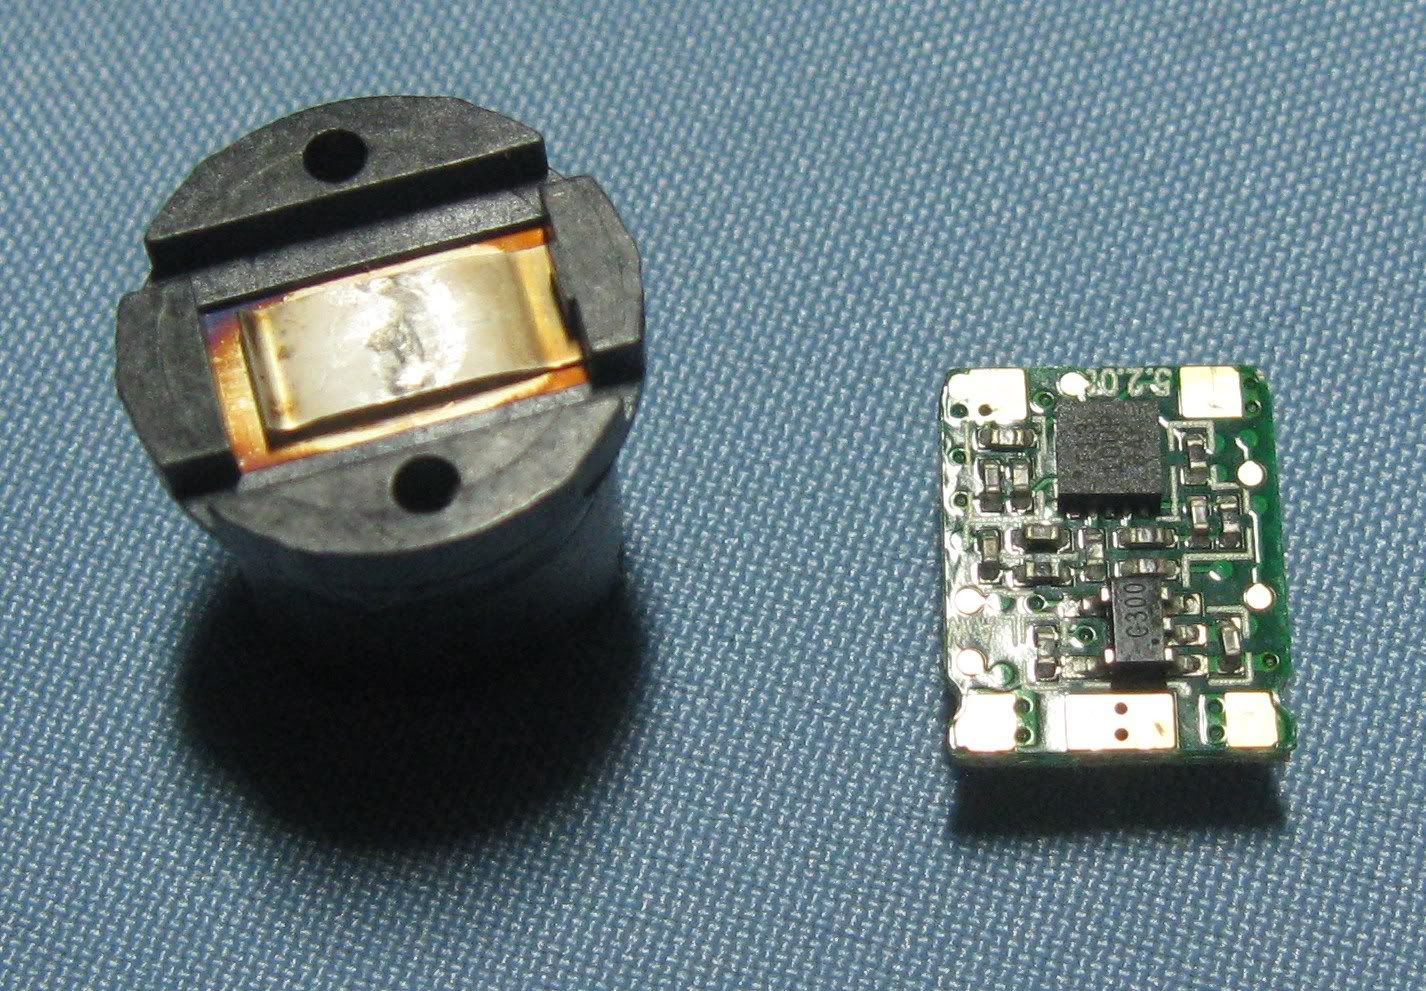
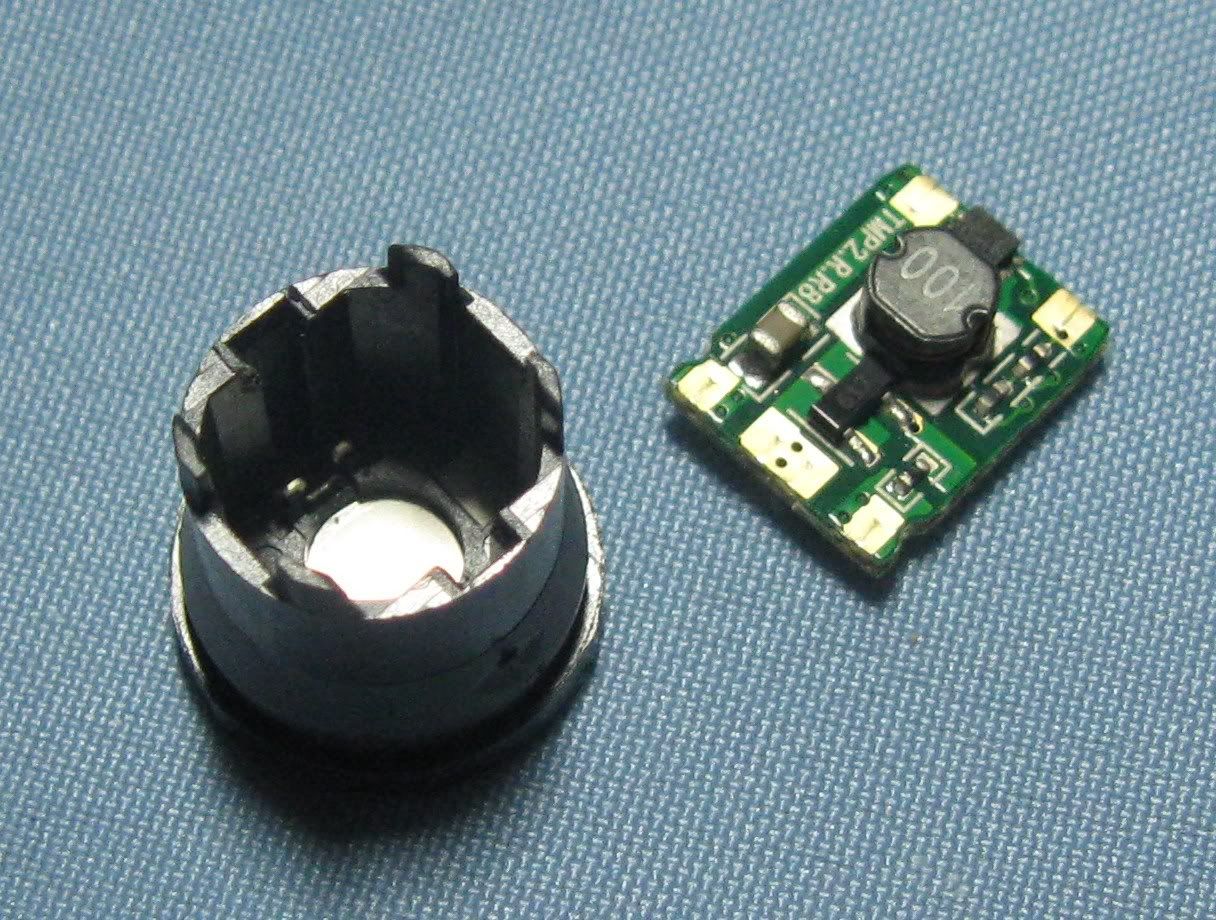
Its a plastic holder with the positive electrode for the batteries on the posterior end and a circuit board inside. There are 2 electrical slots on the inside posterior end of the plastic holder which should match with the 2 contacts on one end of the board.

UPDATE: the circuit board can be inserted onto the  black plastic holder in 2 directions. Since the holder is pretty symmetrical, its difficult to know which direction is correct. So you can try using trial and error.
Photobucket

Photobucket

This gave me hope. I thought that if I could get at the emitter head, I might have a chance of ficing this. I thought about asking in a flashlight message board that I'm a member of. But before asking, I decide to search for "maglite dissasemble" in the forums. I found this.

I used two screwdrivers and just pushed the LED module out the other end. Now for reassembling...

OK so this gave me hope. I opted to use a  small hammer and a chopstick to remove the emitter head.
Photobucket

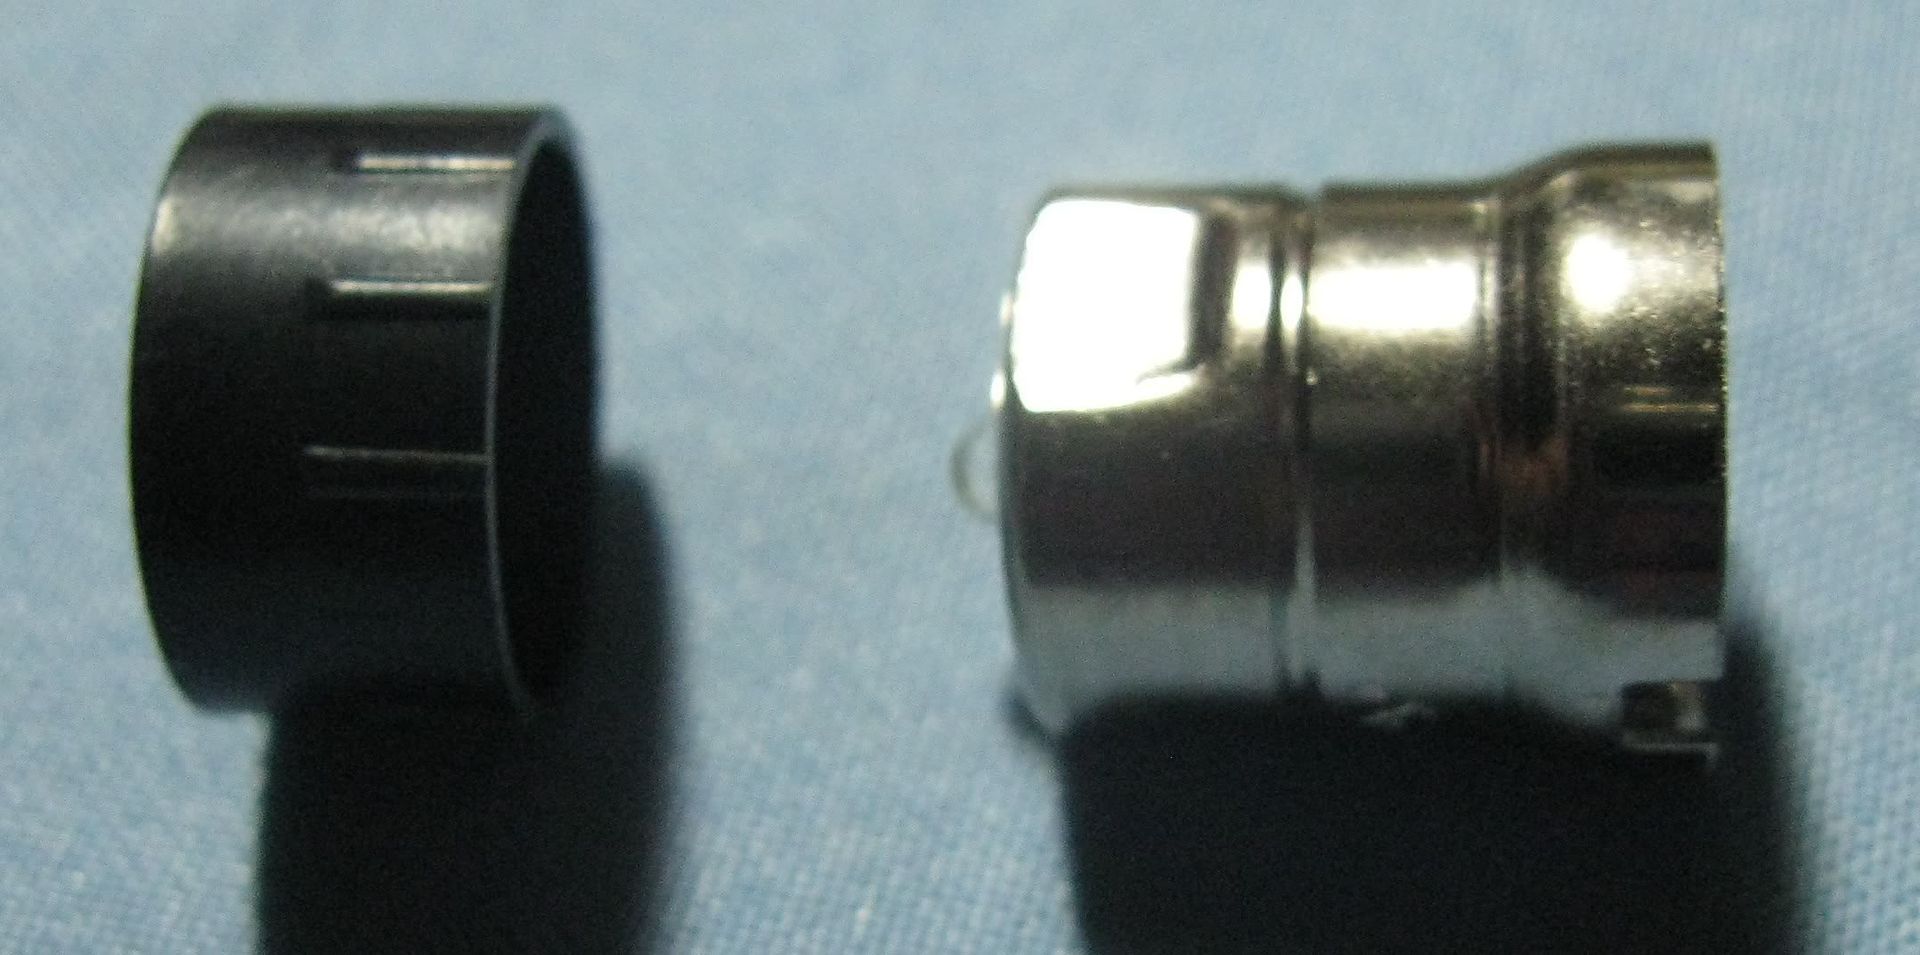
I placed the tip of the chopstick on the metal beside the actual LED and VERY GENTLY began tapping with a hammer. Eventually, the metal emitter head fell down through the back end of the flashlight body. A black plastic ring remained which fell out the forward end of the flashlight body. The ring serves to lock the head in place

UPDATE: you can use your fingers to press the metal emitter head down instead of using a hammer.
Photobucket

I just re-assembled the emitter head, the board and the black holder. The emitter head has 3 electrical slots on its back so the end of the circuit board with 3 electrical contacts goes there. But I noticed that there are no positive and negative signs and the board can go in 2 ways. I thought, OK go for broke, 50/50 chance. I'm just hoping that what maglite says about the electronics being vulnerable to reverse current flow isnt true.

UPDATE: The metal emitter head has writing on one side and the other side as seen in the picture above has no writing. For standardization purposes,  the side of the circuit board with the cylindrical black plastic cylinder with wire coiled around it and a "100" printed on top faces the side of the metal emitter head which has writing on it. And getting it backwards doesn't seem to fry the electronics if you don't try it for too long.

I placed the emitter in the back end of the flashlight body and placed 2 AA batteries after the emitter. I then pushed the batteries upwards with my finger. The emitter head is now in the proper place. I got the black ring and pushed it through the front end of the body and with a gentle push, locked the head in place. I then tried the flashlight, IT WORKS!!!!

the end

Monday, August 22, 2011

fixated on kilometers per liter?

Times are hard so we have to save money. If you have a car, one of the ways you save money is calculating your km/l performance, i.e. mileage, every time you fill up and find ways to increase it. Yes it helps a lot, but is it the be all and end all? Maybe there is a measurement thats slightly more accurate.

I though that well, since a lot of people are paid in monthly wages, maybe you should be looking at your transport related expenses also in a per month manner. You could measure liters per month or even better money spent on gas per month.

The old km/l is pretty good as it is but there are a times where it can be inaccurate. What if instead of your inner city commute with the traffic jams, you took a long cut that happens to bypass traffic because it uses a long stretch of highway? What if your usual routine involves a route that gets stuck in traffic (to work) and a less than 1km commute with no traffic (maybe to a mall or something) and you decide to walk that < 1 km? Both would negatively affect your km/l values but would decrease the money per month value.

Think about it.


the end

Sunday, August 21, 2011

case fan filter enlarger

If you use 3m dust filters on your PC case's intake fan and you room is very dusty like mine, you'll know that as a consequence of the efficiency of 3m Filtrete air filter's efficiency, they do clog up quickly. Now one way of increasing the time in between filter changes is to simply increase the surface area of the filter. This also has the advantage of slightly decreasing airflow resistance.

You can do it in 3 ways. The usual way is corrugations which as a bonus, do not increase by much the volume of the entire filter apparatus, i.e. it doesnt become bulkier. Example


The second way is to change the filter from a flat surface to something 3D like a hemisphere, a cuboid or a pyramid. However, I haven't been successful at figuring out a way to do the first 2, I'm forced to do the third method.

The third method keeps the filter flat but simply increases the X and Y dimensions. As a disadvantage, you will increase the volume of the filter apparatus i.e. make it bulkier and you will need an adaptor which in this case is also an enlarger.

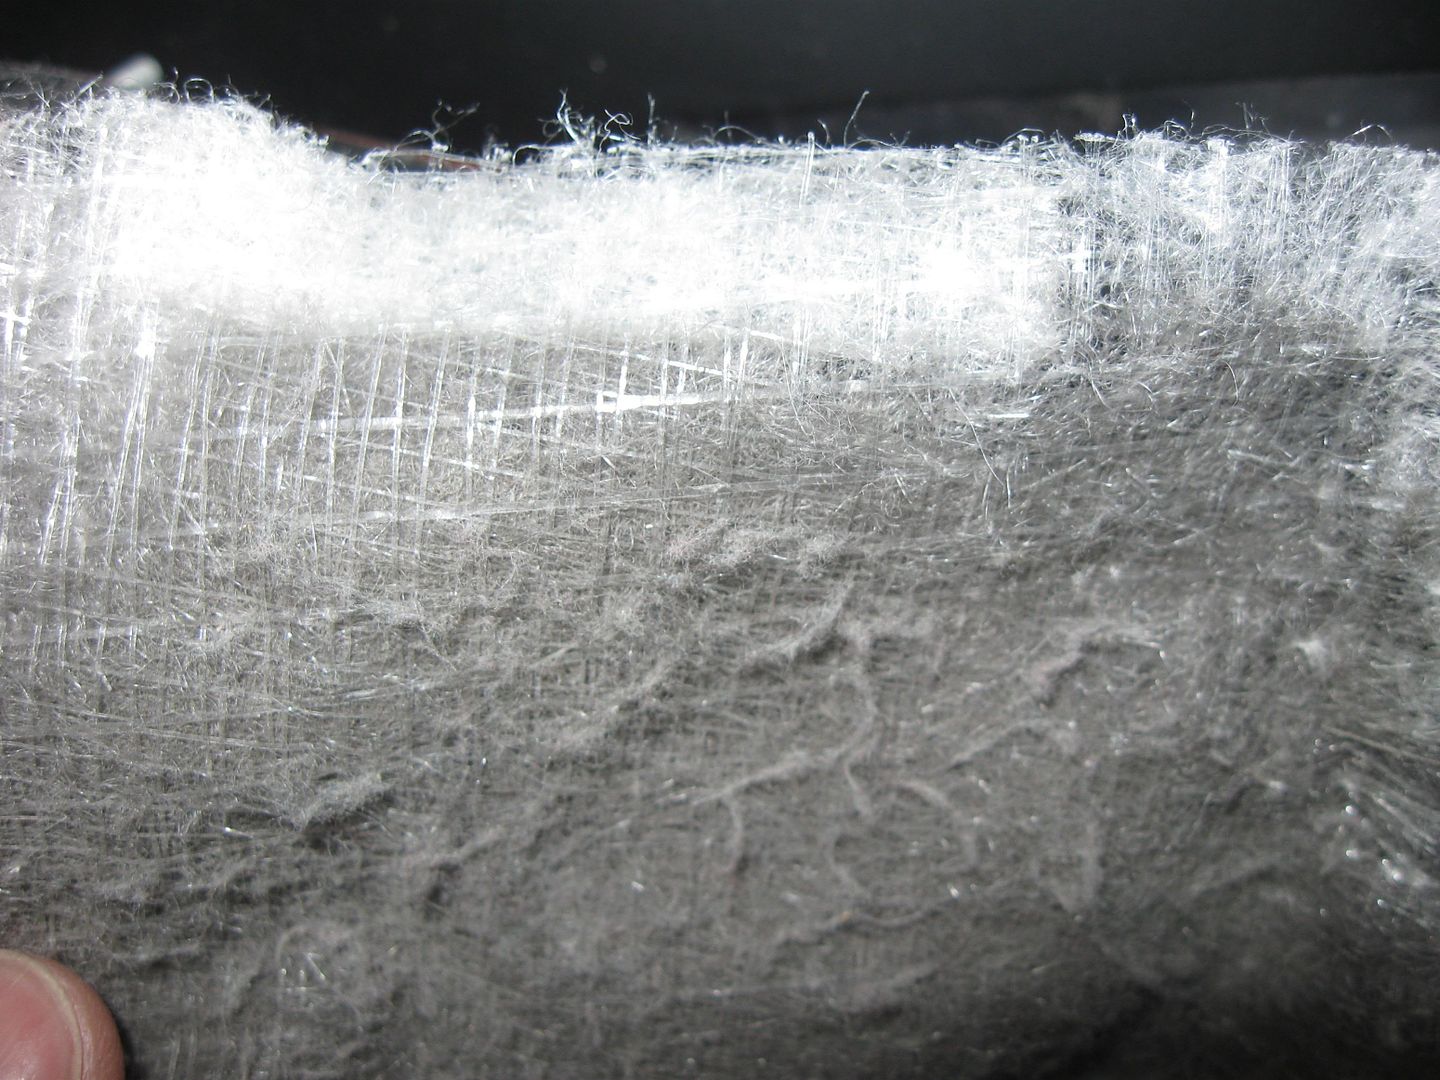
The 2 pics below are my filter on a 120mm intake fan after around 3 weeks. Pretty dirty.


OK so we need an adaptor/enlarger. I am going to make one from a box, or anything vaguely rectangular. I was thinking about the old mythbusters adage, if its worth doing its worth overdoing.


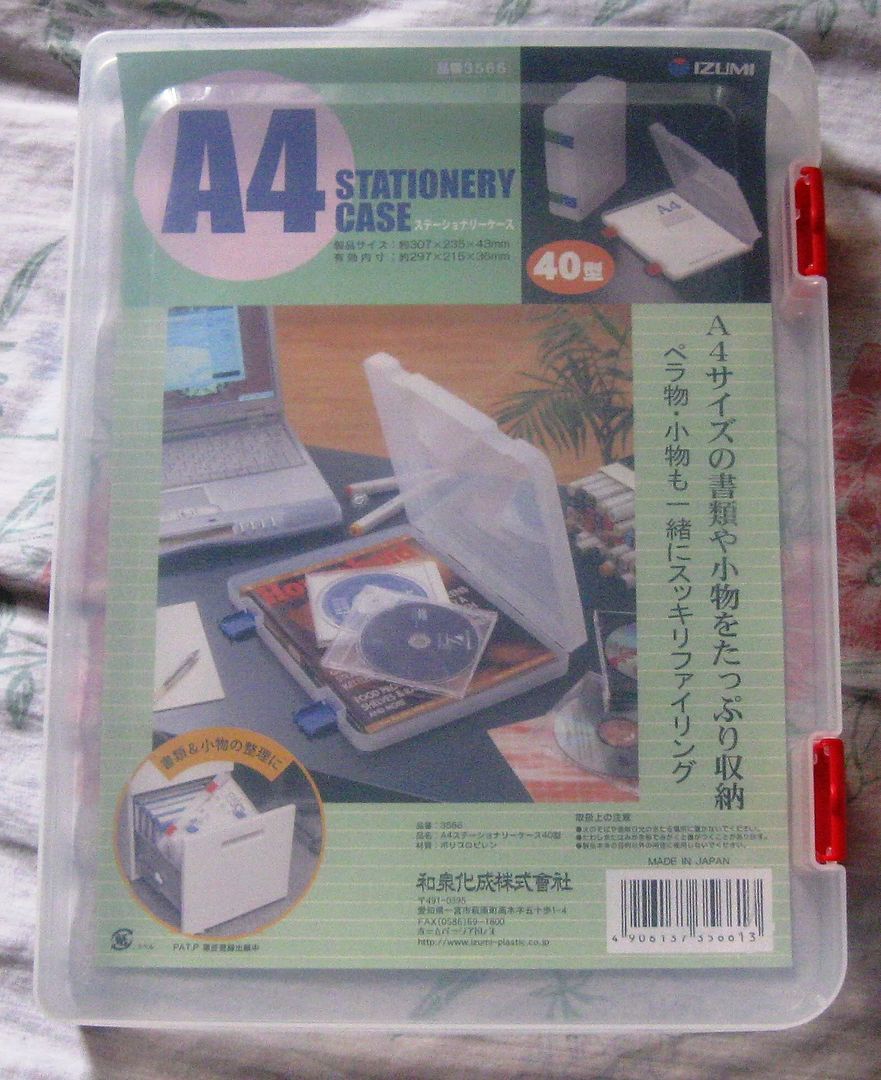
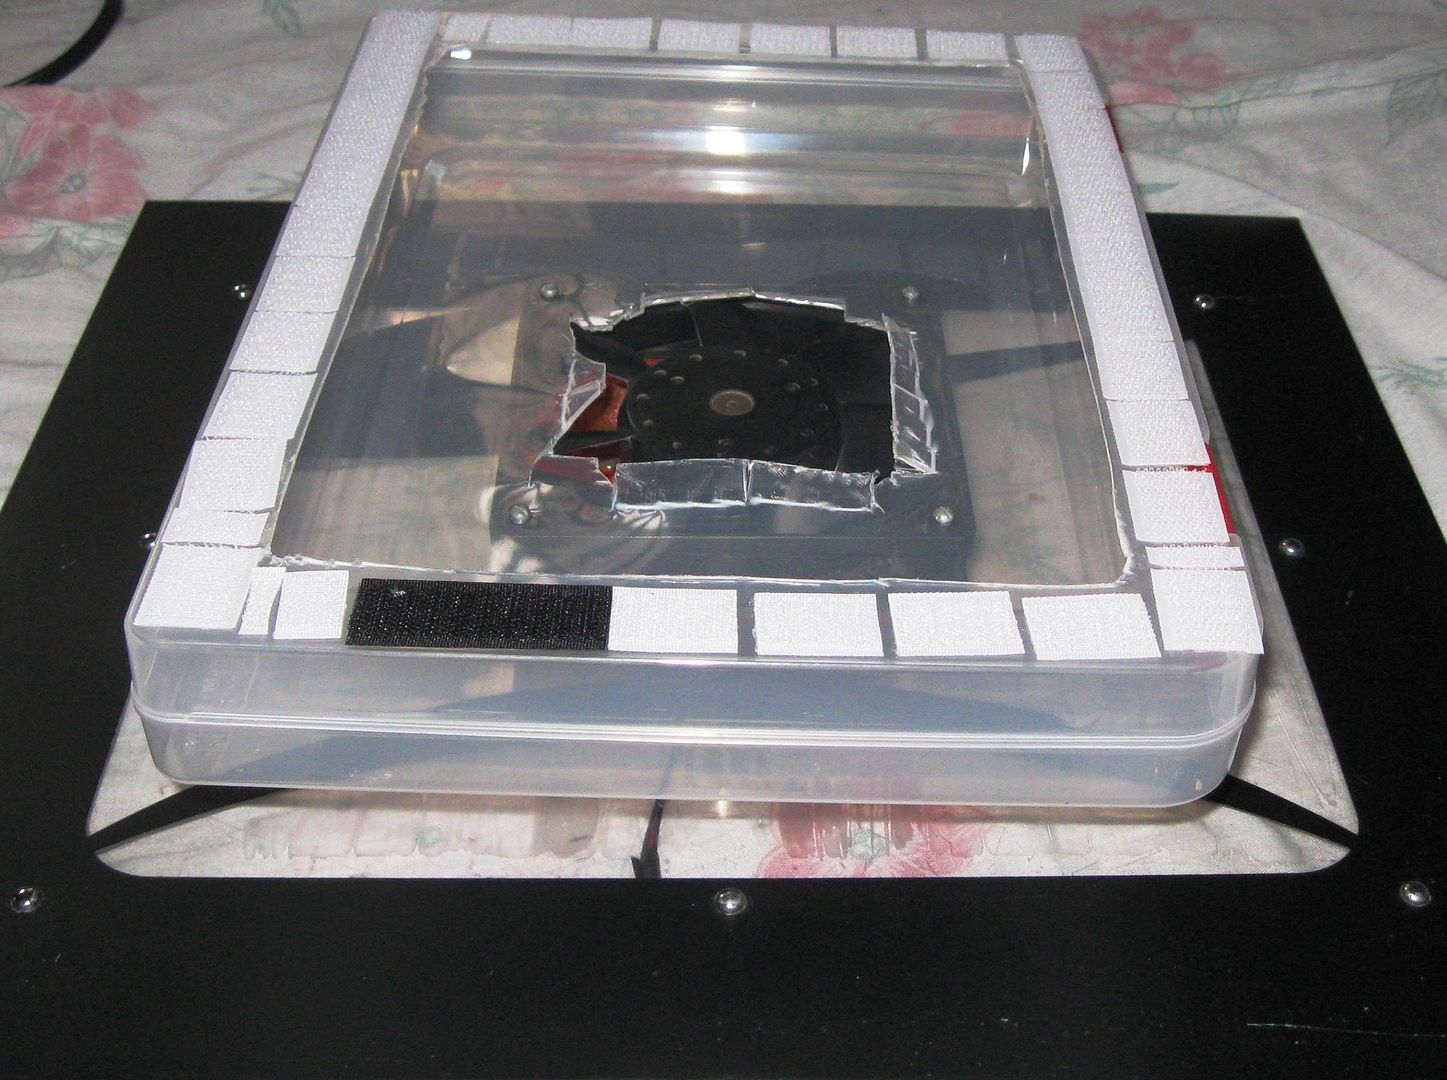
And that is why I got a rather large box. Its plastic so its light and cheap and not too hard to cut. Since only the X and Y dimensions need to be big, I can skimp on the Z dimension, i.e. its tall and wide but not deep. I present to you, an A4 document case. Hey, the larger filter surface area does mean it will take a longer time to clog up. Bulkiness and looks are of secondary importance to me so I will put up with this.

Photobucket

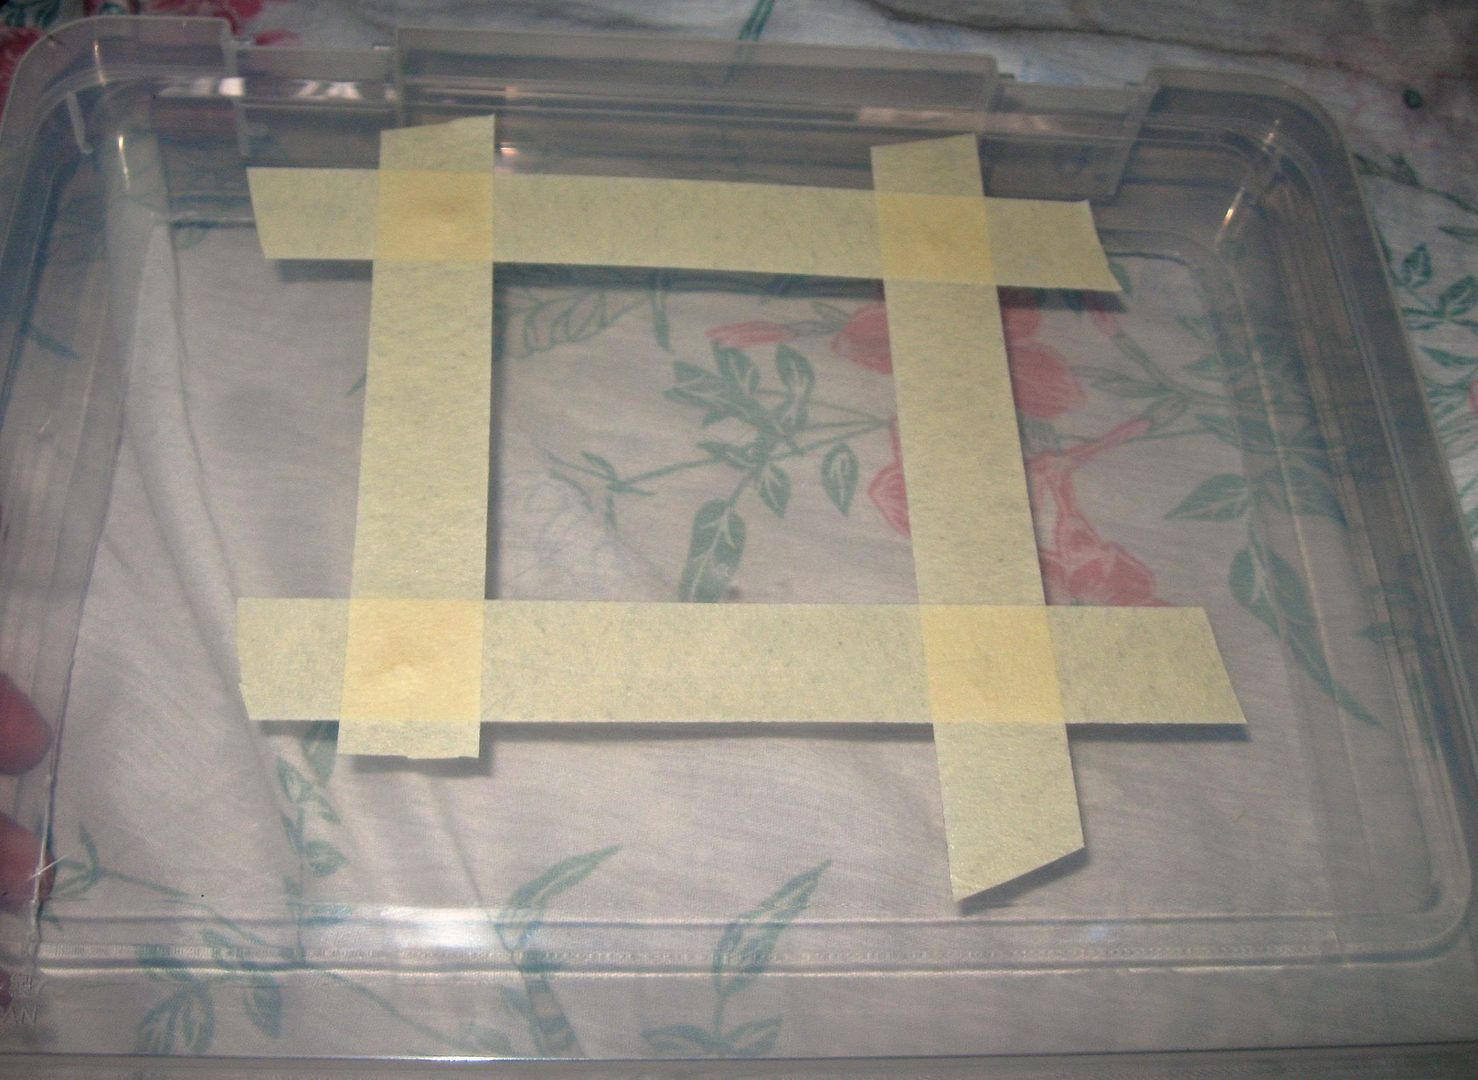
First on one side I mark the outline of the fan and the 4 holes for the screws.

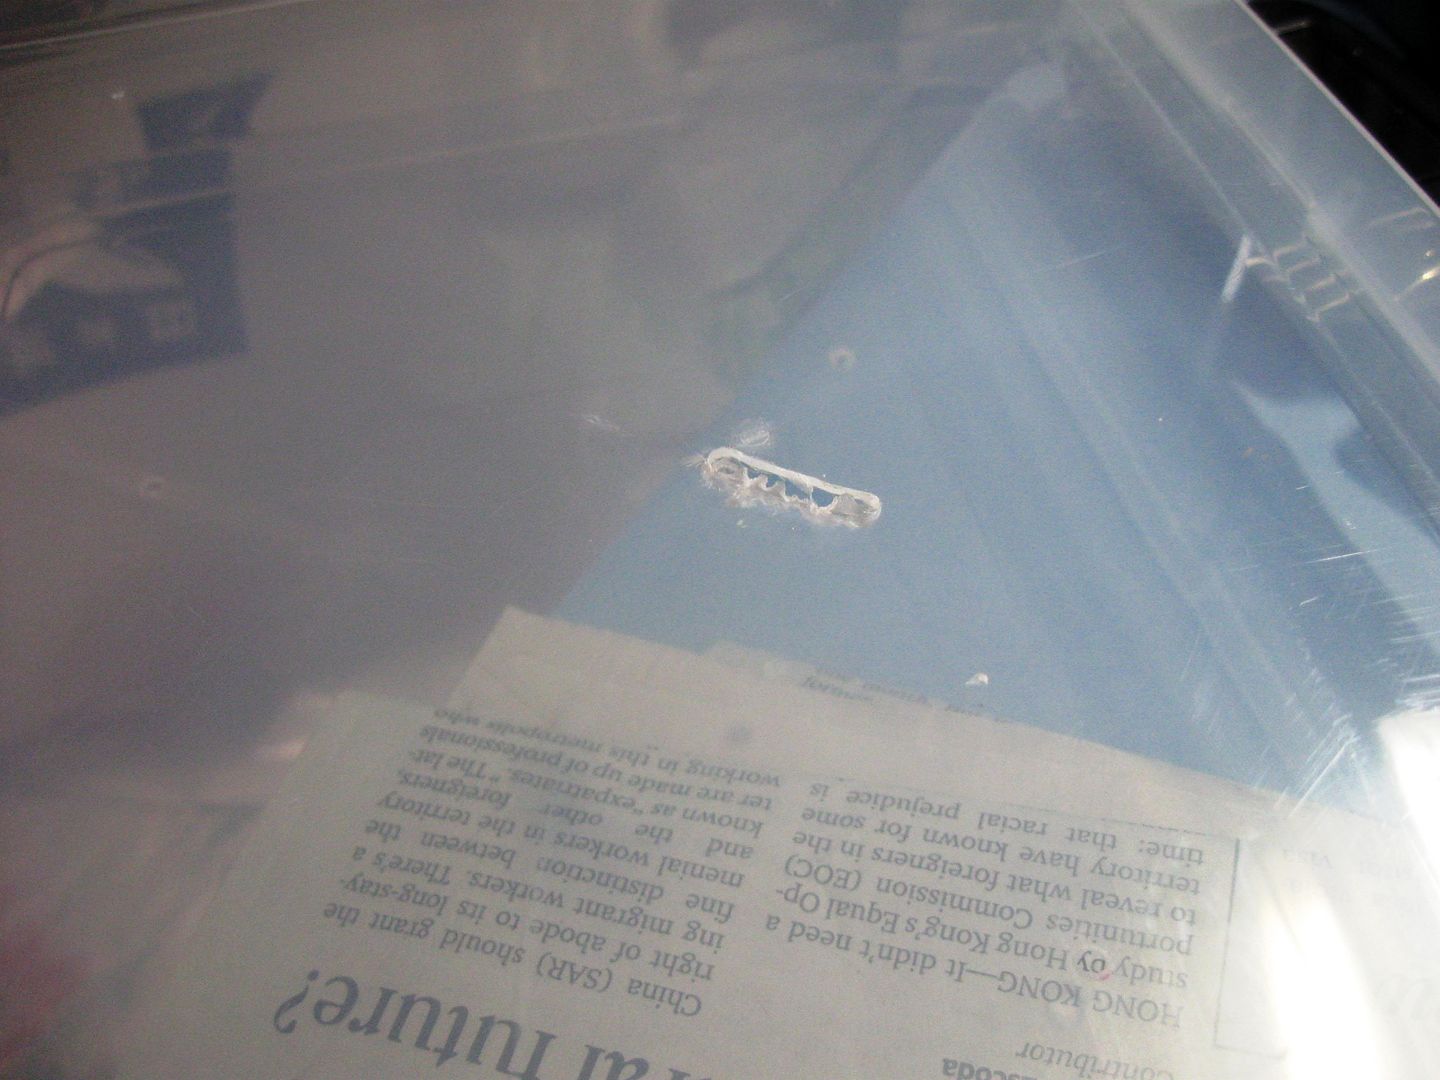
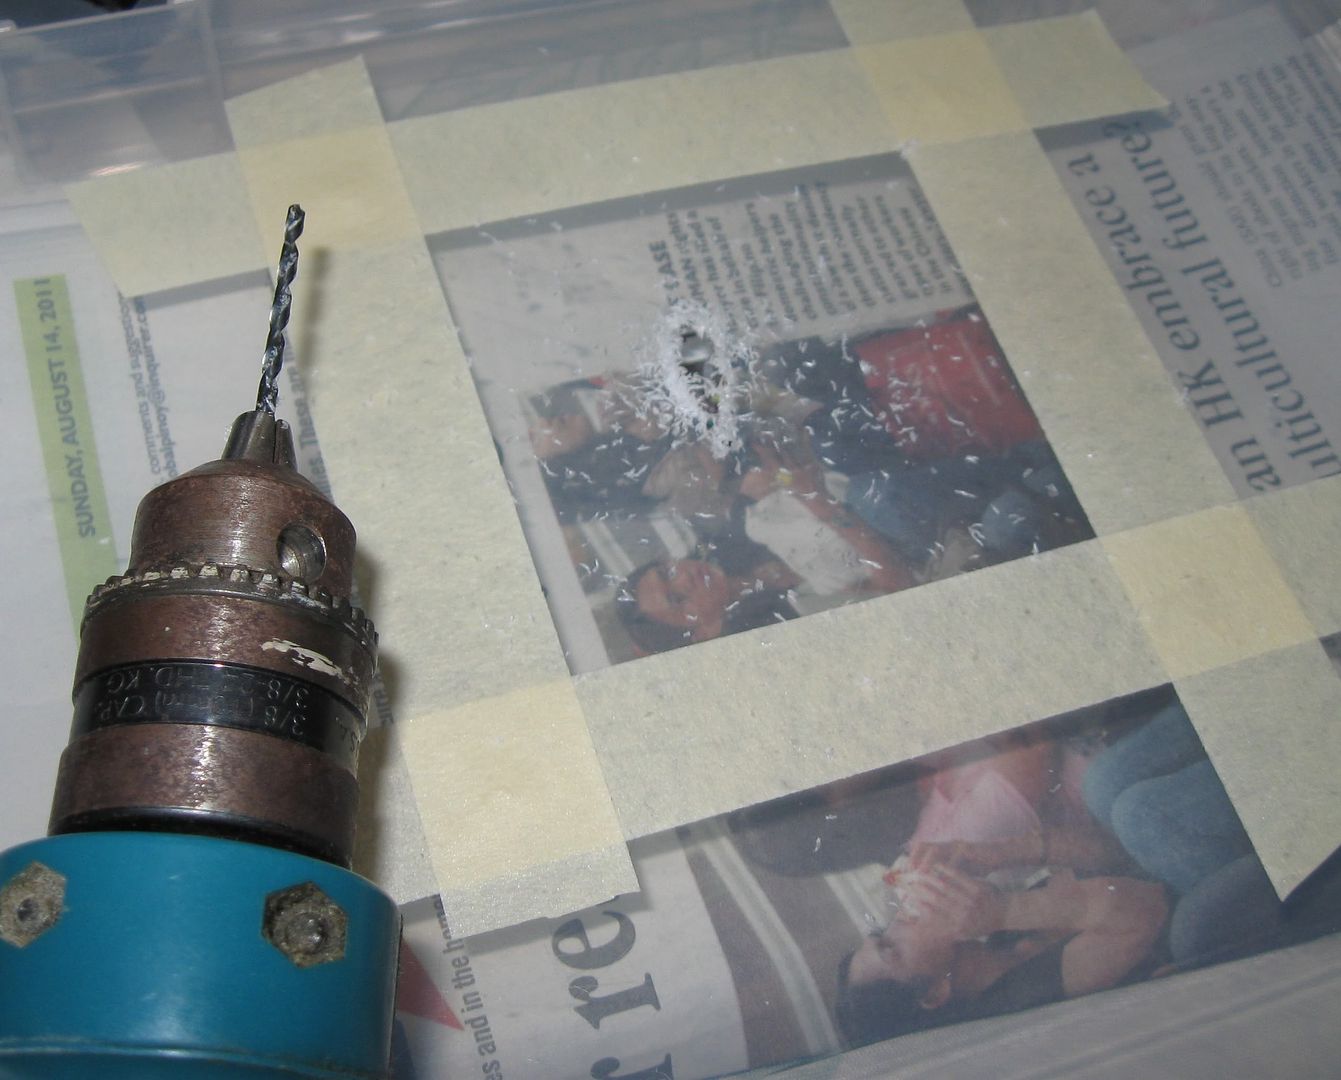
Next I flip to the other side and drill a hole then move the drill bit sideways to create an opening for the tip of the tin snips to get something to hold on to.

Photobucket

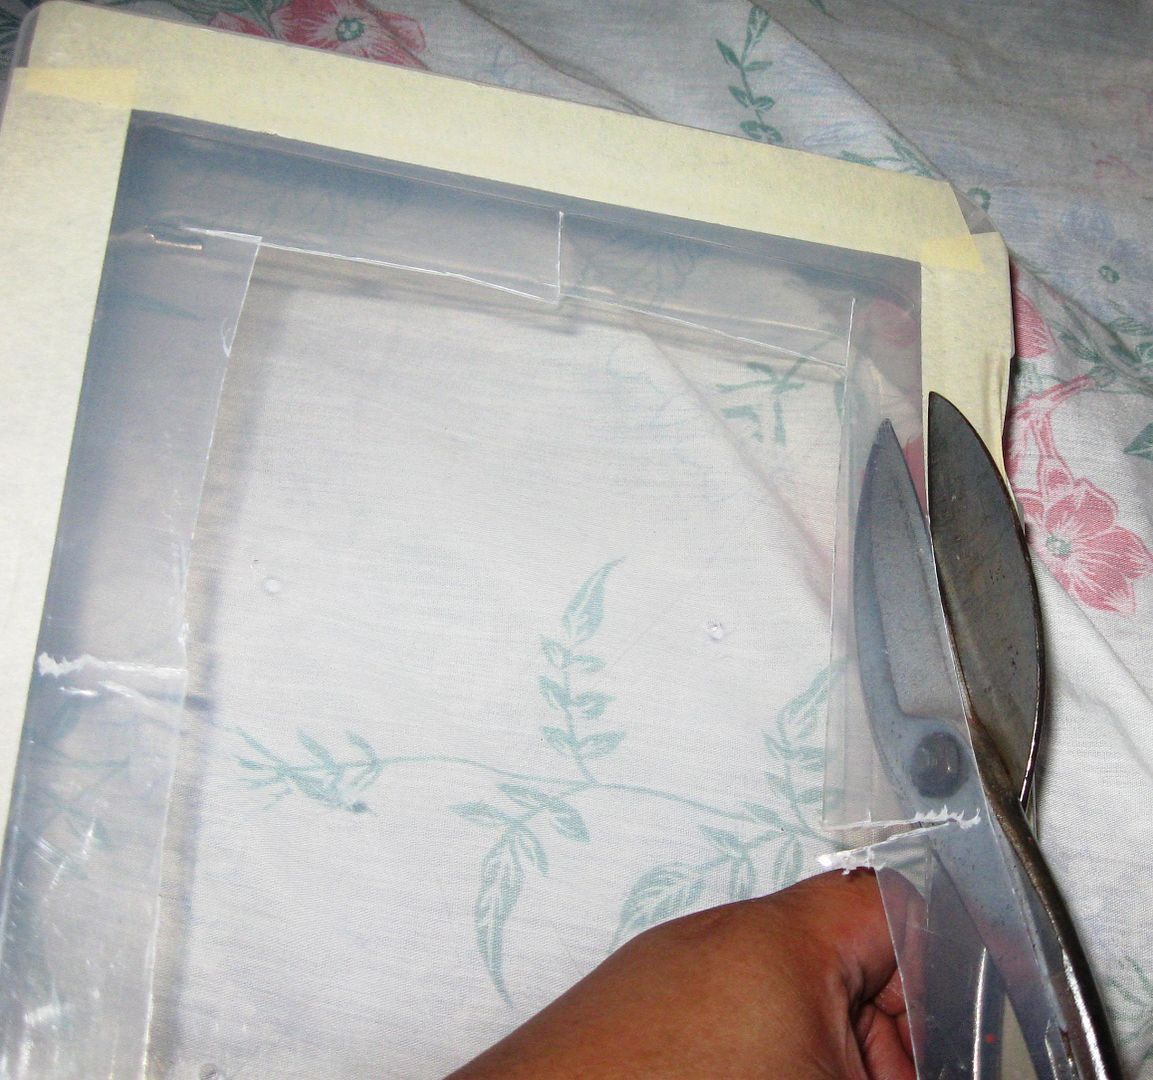
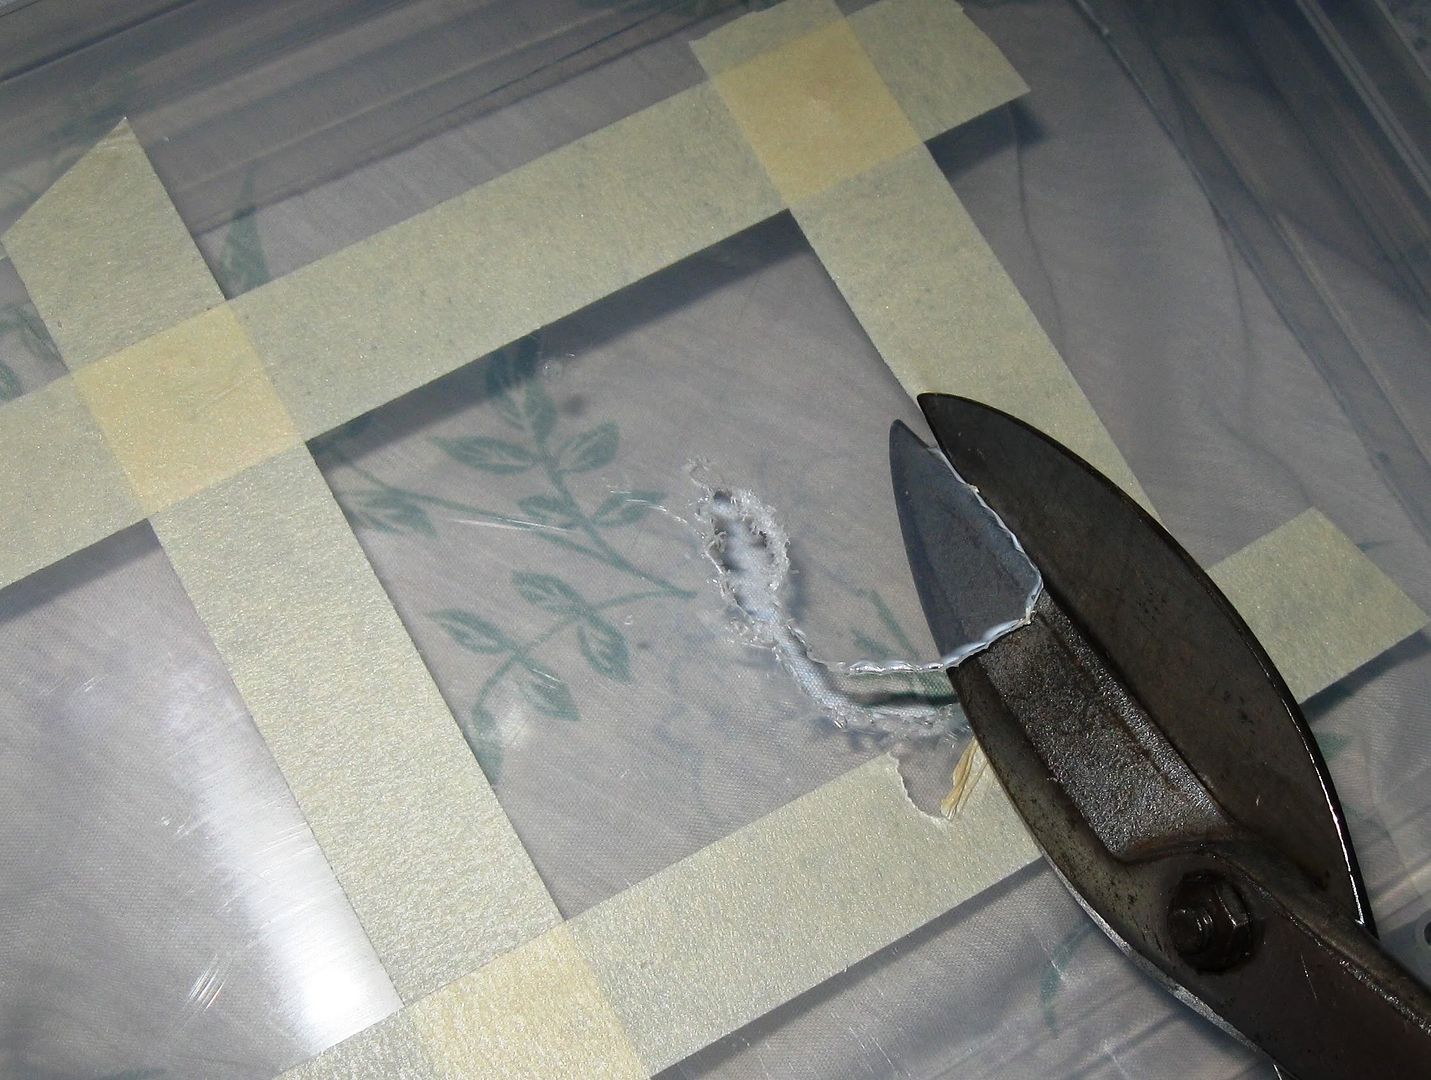
While cutting with my not too sharp tin snips, The material started to crack so I placed masking tape around the perimiter to reinforce it. You may tidy up the cut edges with sandpaper, a file or a sharp knife.

Photobucket

Now flip to the fan side and repeat. The holes for the screws are already drilled and they are under the masking tape.

Photobucket

Photobucket

Photobucket

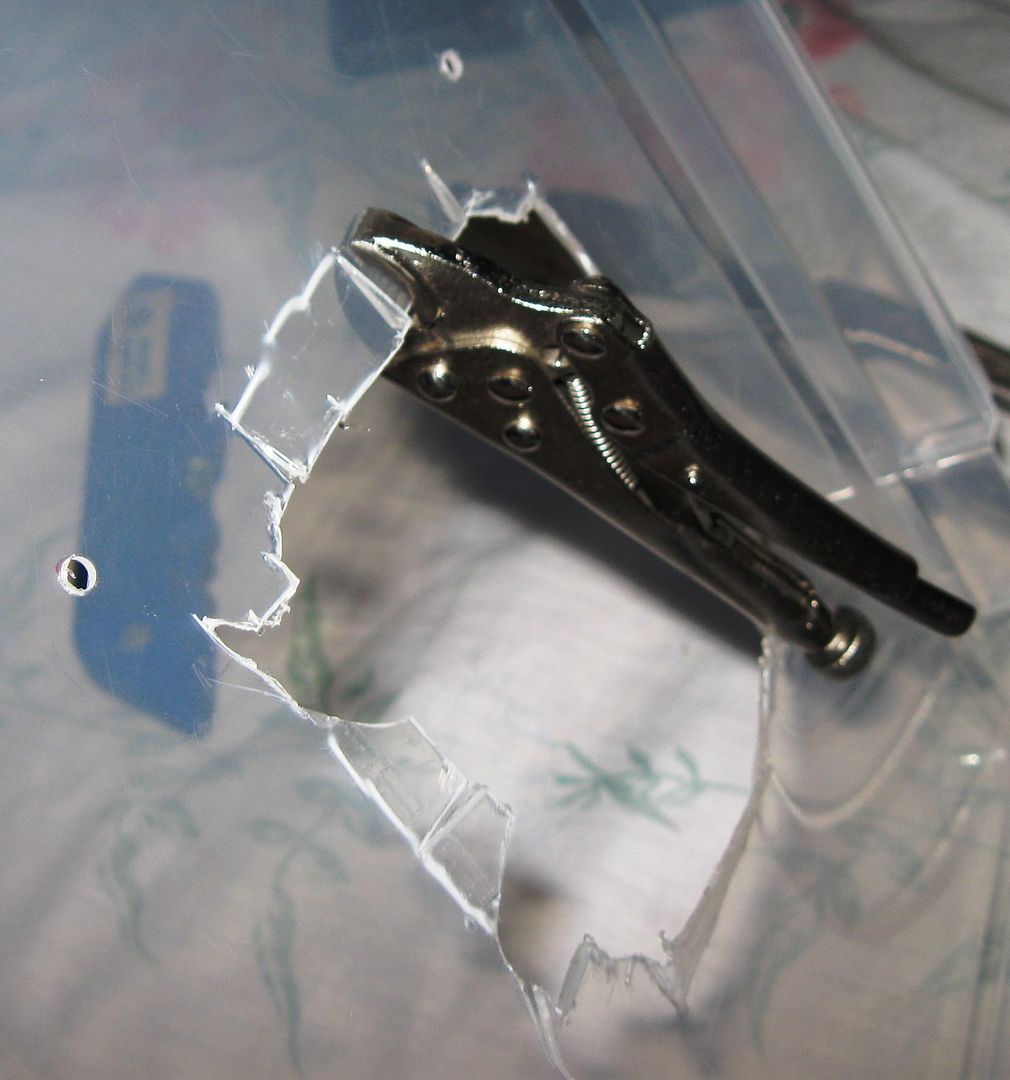
Now I think I made the hole a bit too small and the dull tin snips were hard to use so I just decided to make a few cuts and bend the edges to enlarge the hole size. Looks untidy but my hands were tired from using the tin snips

Photobucket

I next added self adhesive velcro strips, the hook side. I had to throw away the loop side.

Photobucket

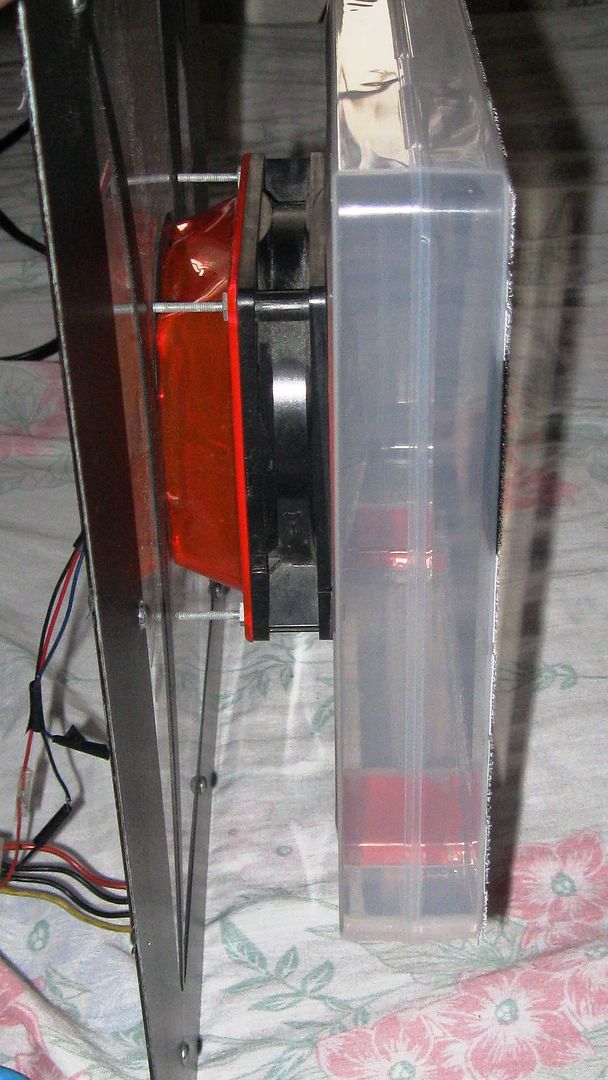
I then re screwed it back on the side plate of the PC case. The Orange plastic thing is a previously existing. 120mm to 90mm fan adaptor. I didnt feel like cutting up my case that day.

Photobucket

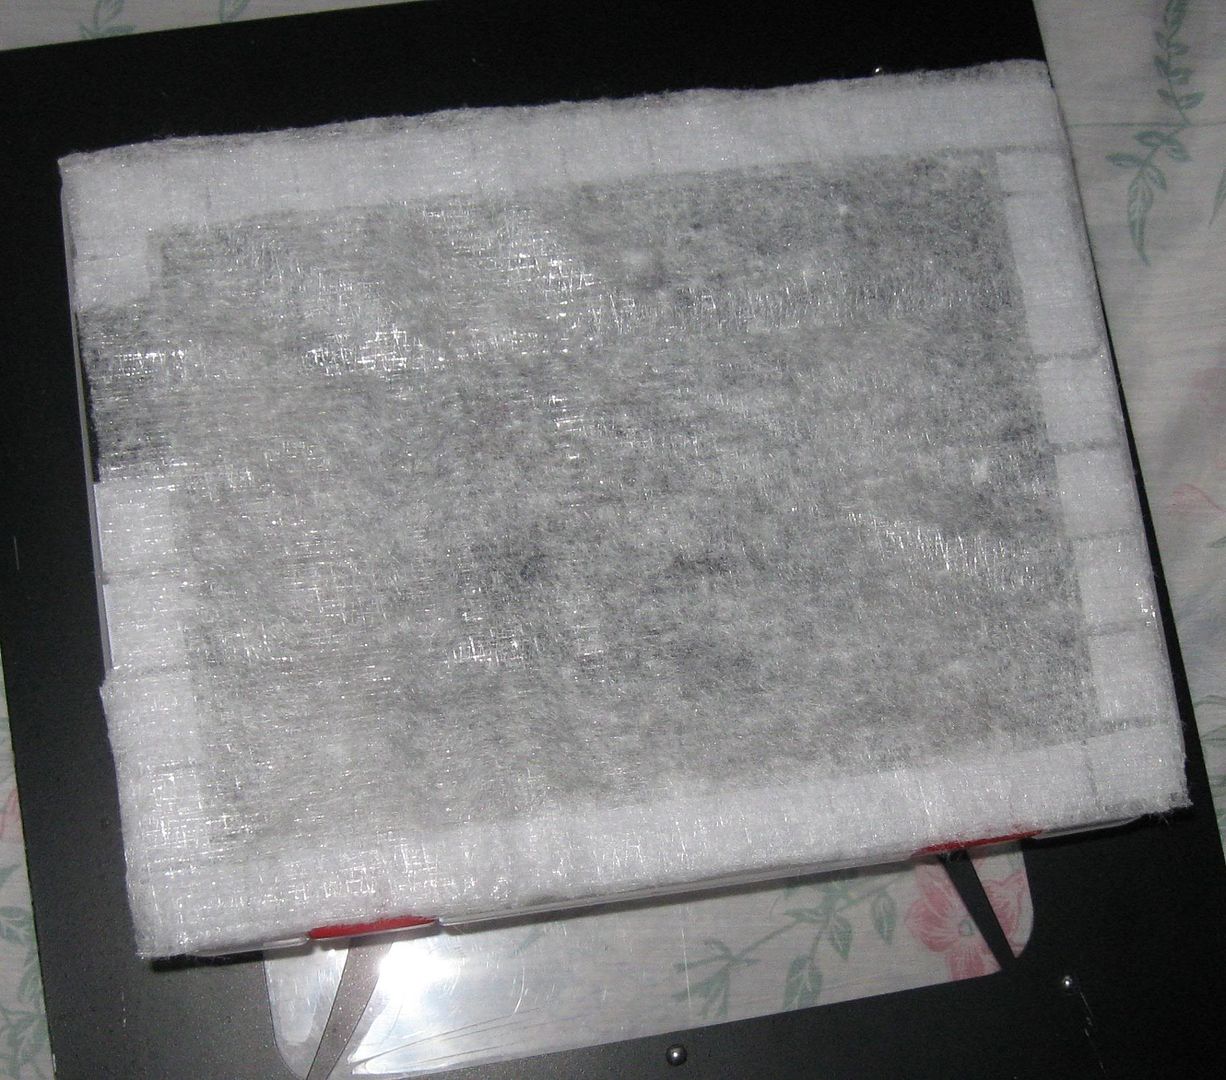
Cut the 3m Filtrete filter to size and apply. The hooks of the velcro will catch the filter. Optionally you could tape the edges.

Photobucket

I also taped the seam of the document holder to make it more or less air tight.

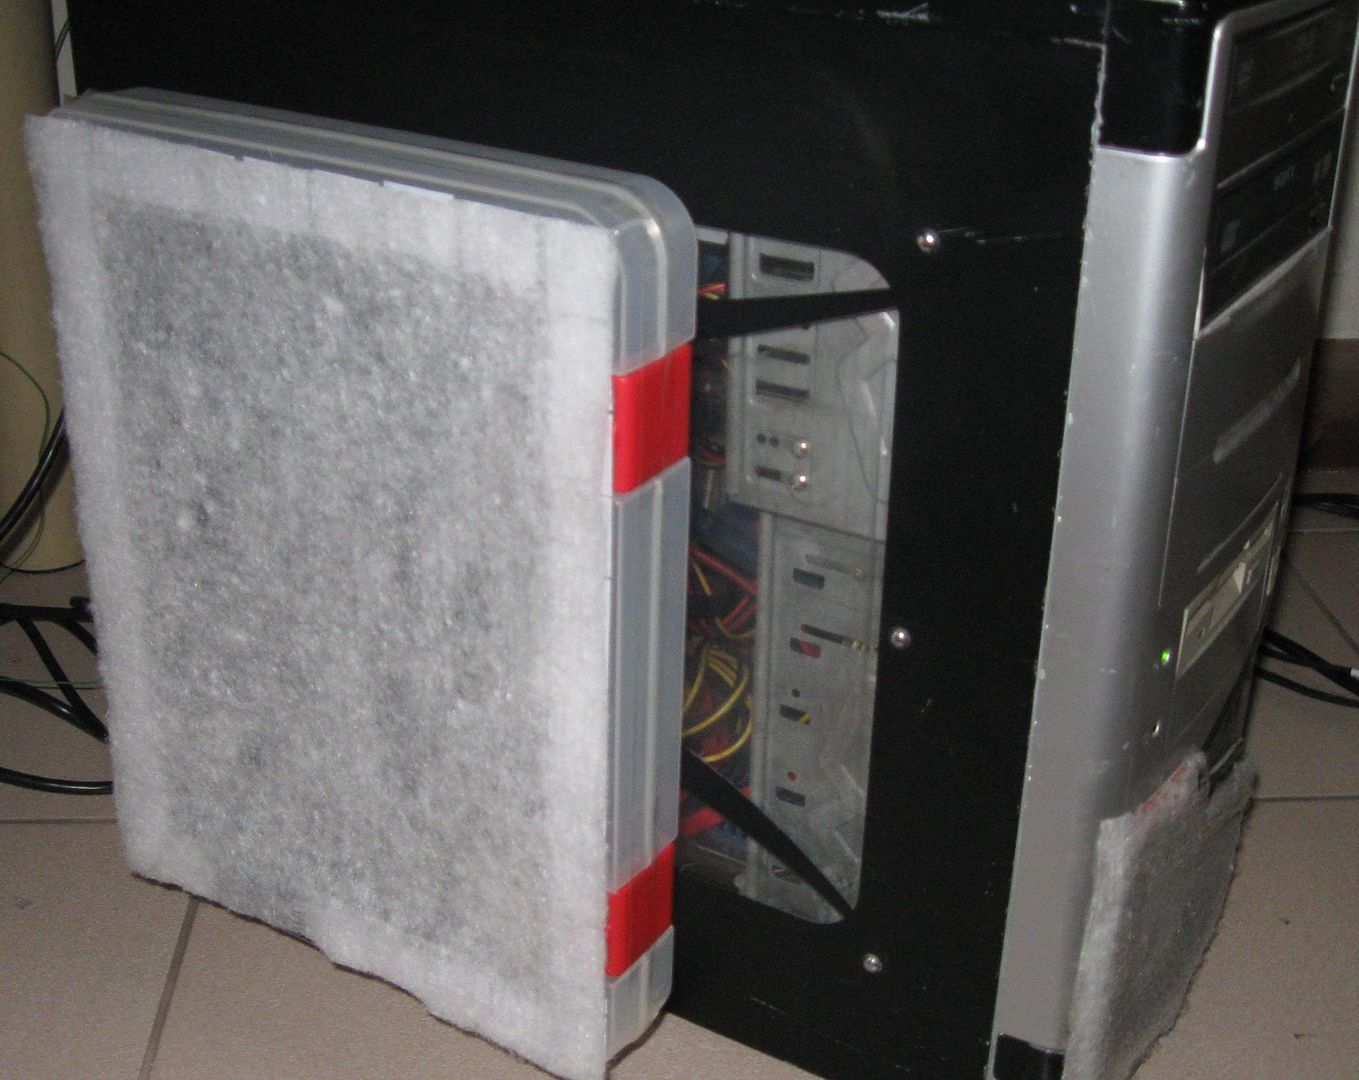
And its done!

Photobucket


Link to a smaller version of the above picture.


The end

room fan air filter

If you read my previous posts, you know that my room is very dusty and it affects my PC. One way to reduce the dust is to put an air filter in my room. Its not gonna be near 100% like placing filters on my windows and sealing the door and cracks, but its easier to do and its better than doing nothing. BTW, here's a discussion of my PC's positive pressure ventilation fan setup.


I decided that since I already have an electric stand fan in my room, I'm gonna place the filter there. Of course, placing a filter on a fan will reduce the airflow so to compromise:
  1. Don't cover 100% of the fan
  2. Make sure the fan is more than powerful enough to provide cooling. The weather is autumn-ish in the philippines with noontime temps maybe 32 degrees Celsius max so I swapped out my 125 watt stand fan with a 75 watt one. It is more than enough to provide cooling for the current weather. Next year when summer comes around and temps climb to 38 and more, I'll bring back the bigger fan.
Clarification: by "more than powerful enough", I mean that the fan is powerful enough that even if the airflow is reduced by the filter, it would still be enough to cool you.
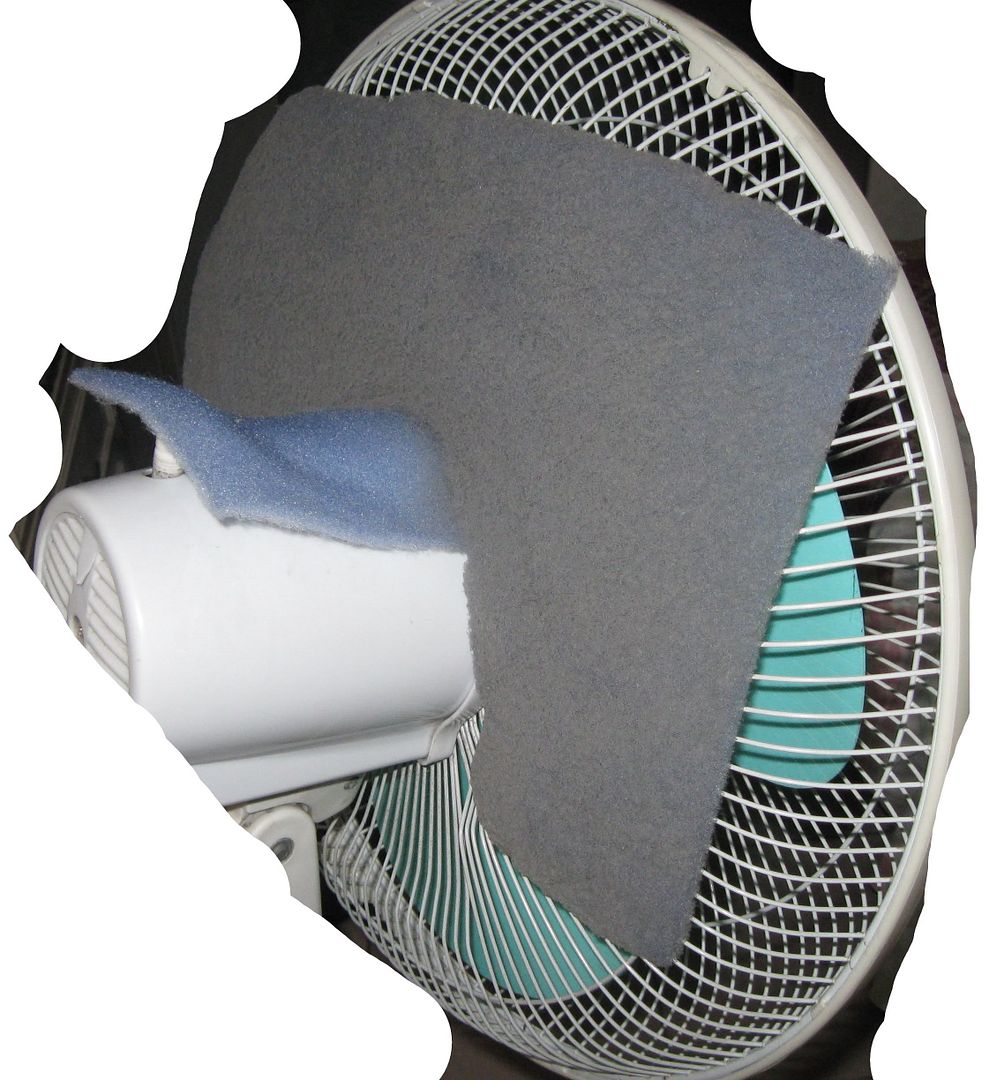
    Making the filter is dead simple. I started out with rectangle of foam type air filter and just cut 2 slots on one side for the fan's motor. Fold the cut portion up and place it behind the fan. Thats it. Friction and the fan suction will hold it on. You could add a few large binder clips if you want.

    Photobucket

    I estimate maybe 2/3 of the surface area of the fan is covered.


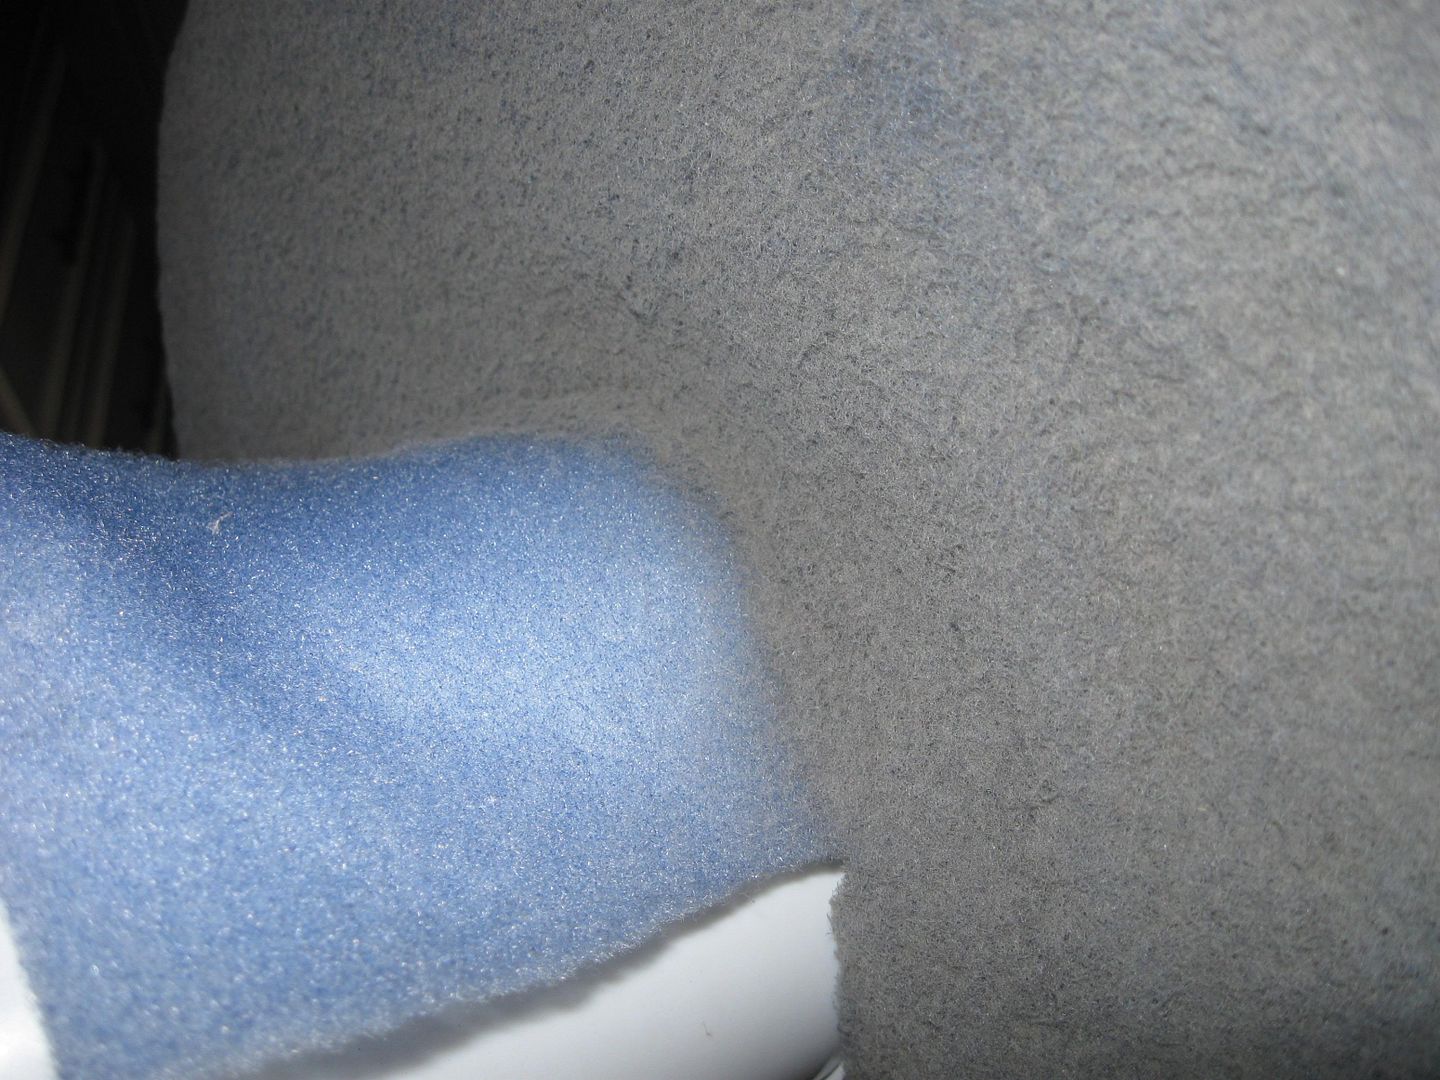
    This closeup shows the filter after around 3 weeks. Notice the color contrast.

    Photobucket

    the end

    projectwonderful adszz

    Nuffnag Adzz

    Slashdot It

    Followers