1. INTRODUCITON
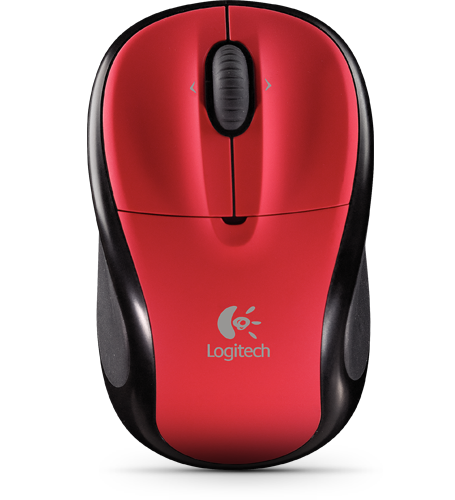
I've used logitech mice for a long time. They work and the most important attribute for me is their toughness. I can expect them to last at least 2 years under me and this makes up for their higher price. This particular logitech v220 cordless mouse is of around 2008 vintage. I use it for my laptop. Its not a gaming laptop so I have never used it for games much but I do not feel any lag. I chose it because it was the cheapest logitech wireless mouse at the time with AA. It uses a single AA battery and I prefer AA batteries because I try to standardize all my stuff to have AA batteries. That way, I have lots of spares and I can swap batteries among my gadgets.
This mouse has served me well and as is common with most mice, the left mouse button is the most used part and it tends to die first. In this case the problem is the left button sometimes double clicks when I give it a single click. It started a few months ago and it is getting worse so I decided to try to repair it. To be on the safe side I already checked out my local mall and I know the prices of the major models and brands of wireless mice. Since I always want to save money and I have a little free time and talent, lets expend time and talent instead of expending or spending money.
Essentially what is wrong with my mouse is a malfunctioning left microswitch or clicker. Here's a picture.
You have to replace the defective left clicker since I doubt actually fixing it is within my skillset. You can buy one, you can cannibalize one from another mouse which happens to use a similar sized clicker. Or you can merely swap the left and right clickers, which is what I decided to do.
2. DISSASEMBLING THE LOGITECH V220
The first thing you need to do is to open up the battery cover. To do that you press the big button on the bottom marked with the battery symbol. I've encircled it in red in the picture below. Press that with your fingertip and the cover pops open.

Take out the battery. You can see a screw (screwhole encircled with red) but you do not need to remove it.

Now you need to unscrew the casing. But where are the screws? Well, as is common with most manufacturers, they are hidden. In this case under the mouse feet. All 4 of the feet have to be pried open at least partially. I just used a fingernail.

Next, detach the power cable. There are 2 catches that lock the connector. Depress them with a paperclip or other tool then yank it off.


Next step is to unscrew the circuit board from the bottom half of the case. There are 2 screws, one also attaches the scroll wheel.

Now you have the bare circuit board in your hands.


Turn it over and look for the 3 soldered contacts below each clicker.

You need to unsolder all 3 contact points simultaneously. Prepare for it by first removing the antenna. Its the big shiny steel wire that wraps around the circuit board.You need to remove the antenna as it is in the way.

Next de solder the contacts. If you dont have the proper equipment you can just use a length of braided copper wire. Prepare the wire by soaking it in solder flux or rosin so it will "wet" with molten lead better. Heat the wire and let it melt the solder at the contacts. Capillary action will draw the solder onto the wire. As the wire fills up with solder just cut off the tip.
Once you have cleaned up the extra solder, apply heat to all 3 contacts simultaneously by using the side of your soldering iron or gun while at the same time apply tension or pull on the clicker. I just grab the clicker with my fingertips and push the circuit board with my knuckles. The clicker should fall off. Before you remove the clickers, I suggest you mark the left and right clickers so you don't mix them up.


The hard part is over. Merely switch the clickers and solder them into place. Make sure that the bottoms of the clickers are almost flush against the circuit board. Resolder the antenna. Screw the circuit board back to the bottom half of the case and make sure the on/off switch at the bottom of the mouse is working. Re-attach the power cable and insert a battery to confirm that the mouse is working. You should see the green power LED light up on the circuit board.
Next, replace the upper half of the case but before re-screwing the 4 screws under the feet, press the case together and test all the mouse buttons on your PC. Once you know it is working, replace the 4 screws and press back the mouse feet. There should be some contact cement left so the feet should stick but you can apply glue if you want. There you have it, a resurrected logitech v220 mouse.
The end.

