I was dismayed. I though maglites were indestructible! I initially despaired of being able to fix it and bought a cheap cdrking LED flashlight as a temporary replacement. A few days later, my mom asked about the flashlight and she suggested that I disassemble it and try to repair it.
So now, I'm at my desk, poking and prodding at the flashlight. It was empty, i.e. no batteries. I removed the end cap and was poking the emitter head back and forth when this fell out. By the way, its normal for the emitter head to move like that.
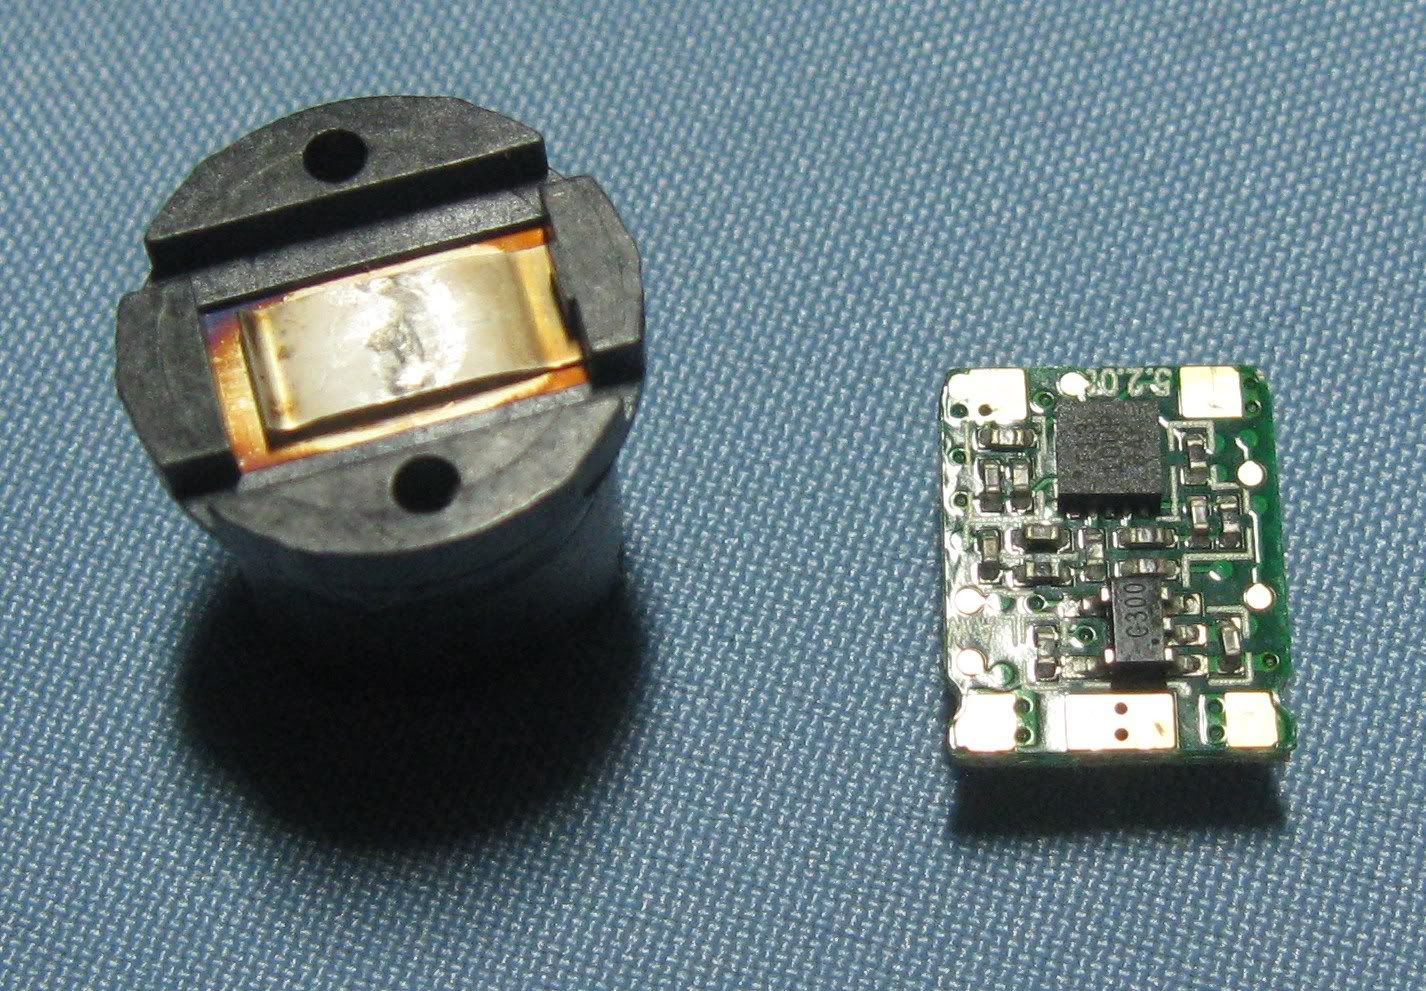
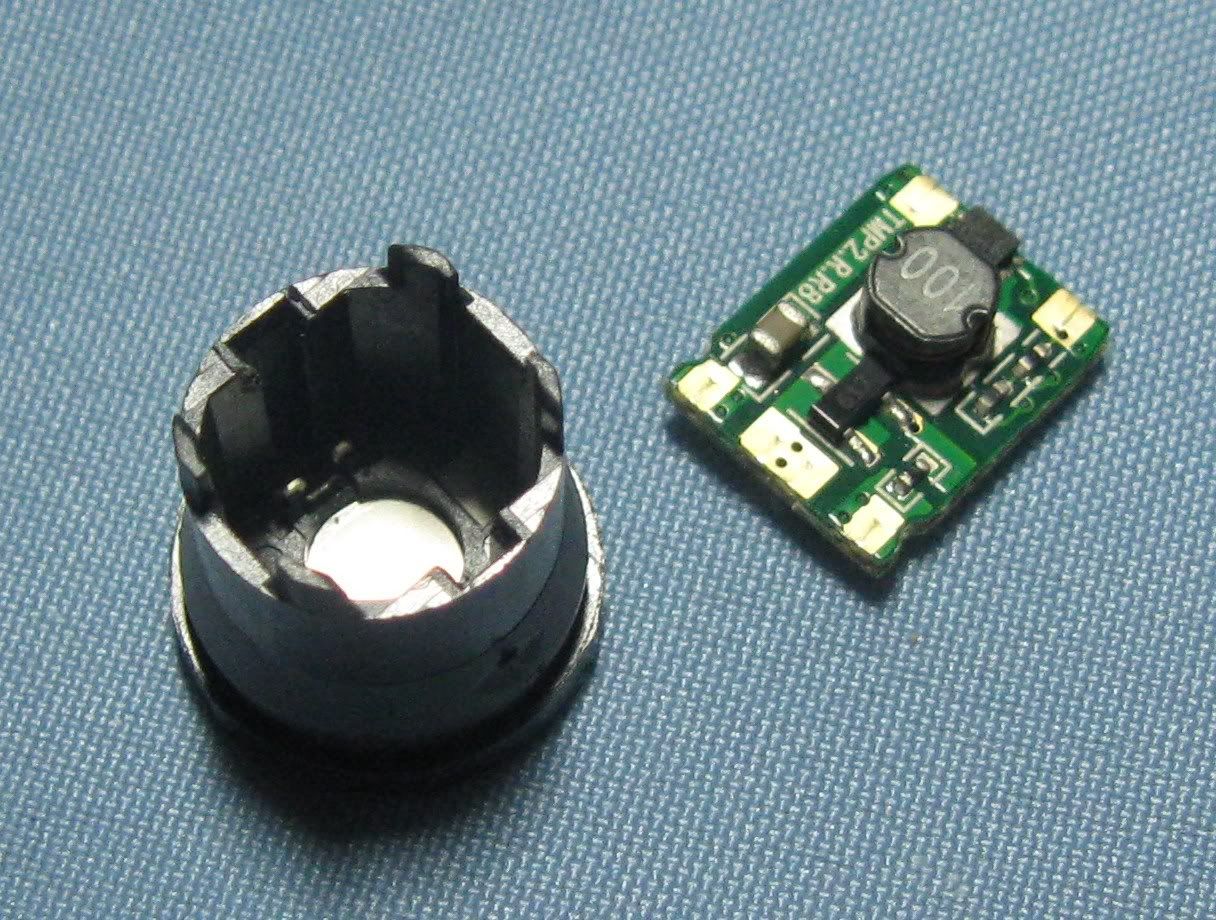
Its a plastic holder with the positive electrode for the batteries on the posterior end and a circuit board inside. There are 2 electrical slots on the inside posterior end of the plastic holder which should match with the 2 contacts on one end of the board.
UPDATE: the circuit board can be inserted onto the black plastic holder in 2 directions. Since the holder is pretty symmetrical, its difficult to know which direction is correct. So you can try using trial and error.


This gave me hope. I thought that if I could get at the emitter head, I might have a chance of ficing this. I thought about asking in a flashlight message board that I'm a member of. But before asking, I decide to search for "maglite dissasemble" in the forums. I found this.
I used two screwdrivers and just pushed the LED module out the other end. Now for reassembling...
OK so this gave me hope. I opted to use a small hammer and a chopstick to remove the emitter head.

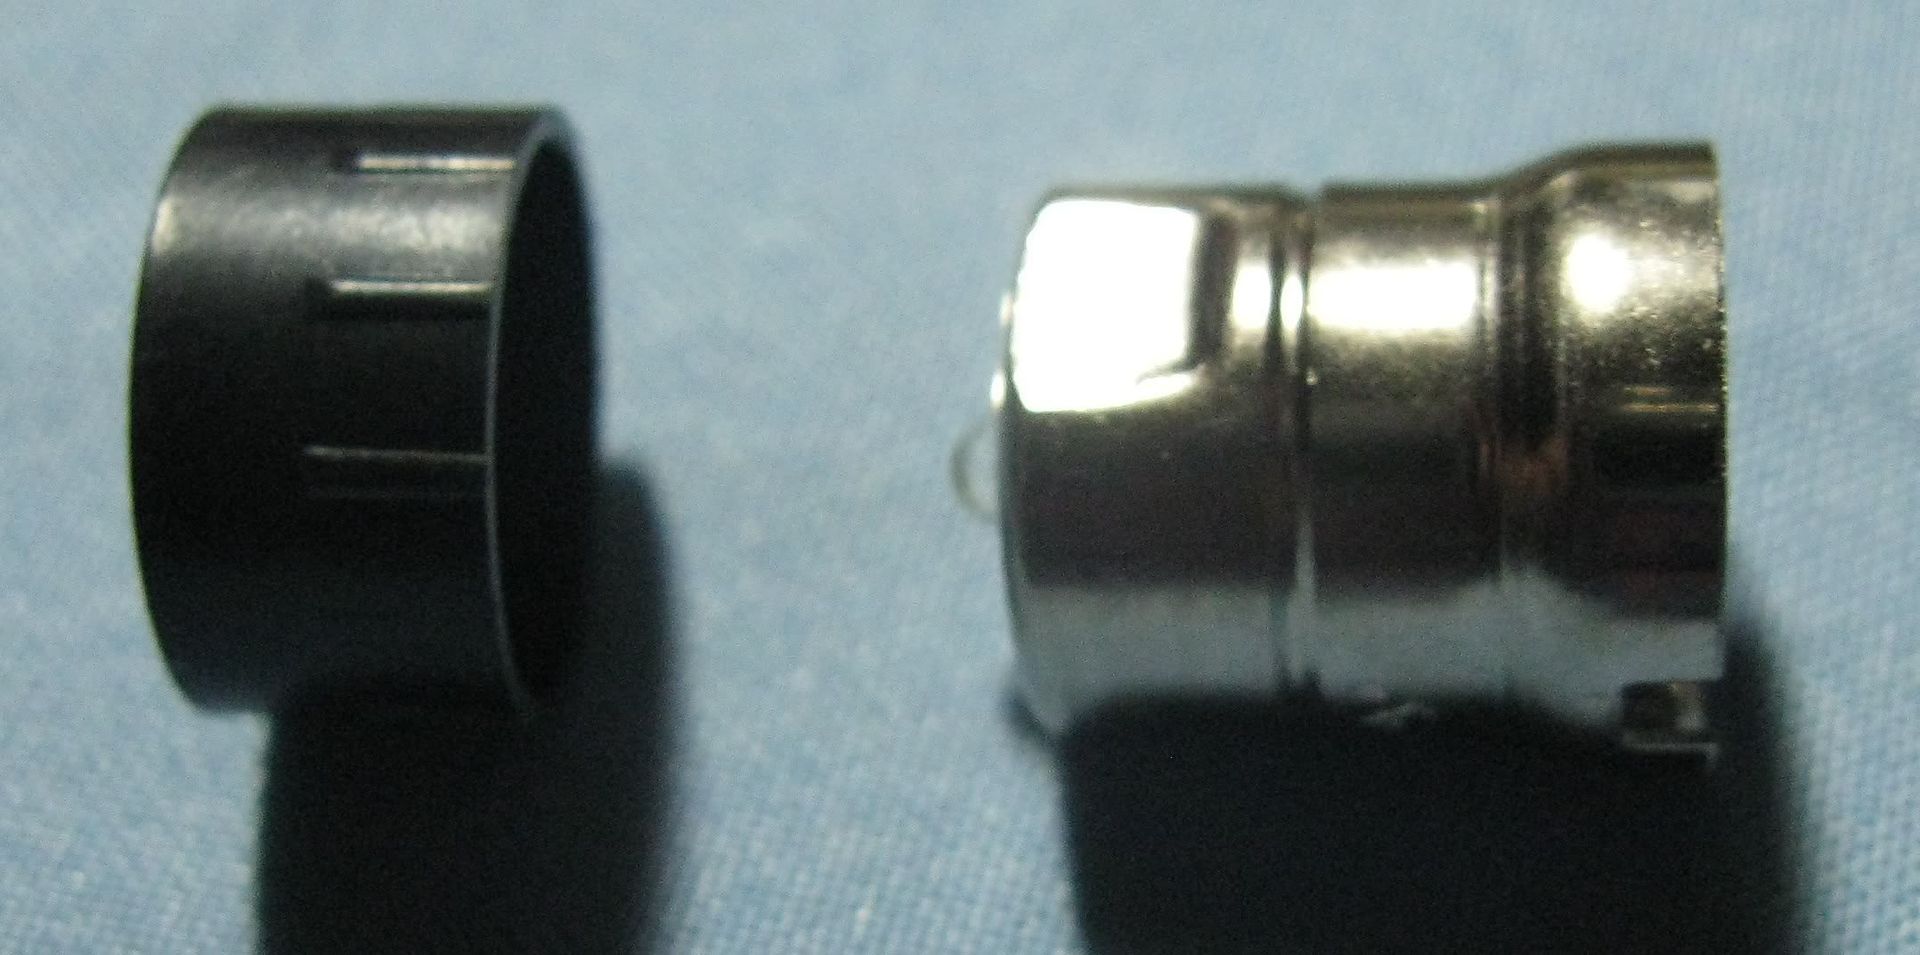
I placed the tip of the chopstick on the metal beside the actual LED and VERY GENTLY began tapping with a hammer. Eventually, the metal emitter head fell down through the back end of the flashlight body. A black plastic ring remained which fell out the forward end of the flashlight body. The ring serves to lock the head in place
UPDATE: you can use your fingers to press the metal emitter head down instead of using a hammer.

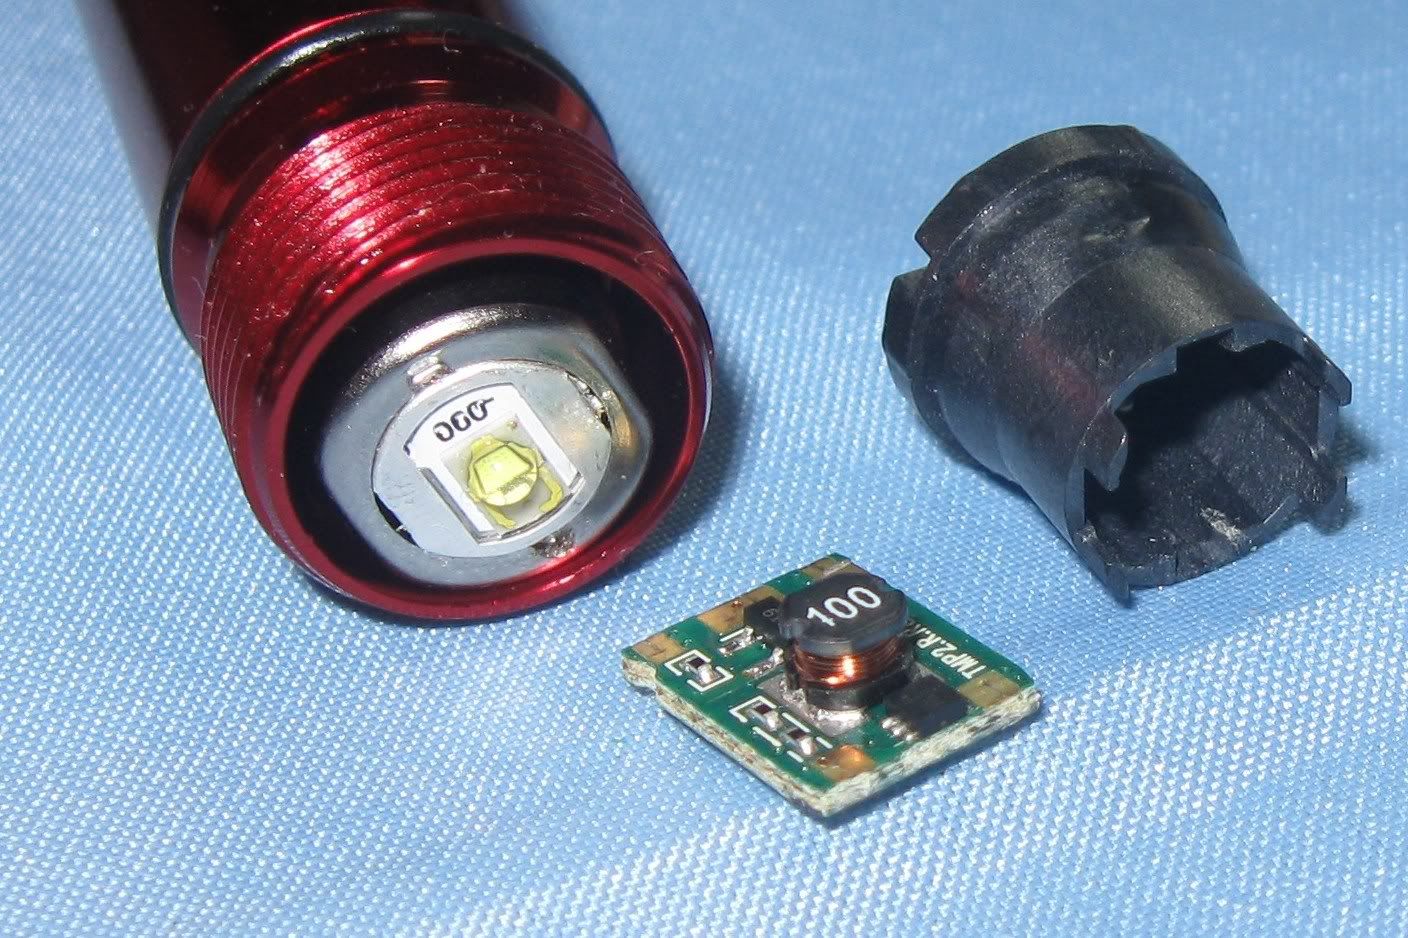
I just re-assembled the emitter head, the board and the black holder. The emitter head has 3 electrical slots on its back so the end of the circuit board with 3 electrical contacts goes there. But I noticed that there are no positive and negative signs and the board can go in 2 ways. I thought, OK go for broke, 50/50 chance. I'm just hoping that what maglite says about the electronics being vulnerable to reverse current flow isnt true.
UPDATE: The metal emitter head has writing on one side and the other side as seen in the picture above has no writing. For standardization purposes, the side of the circuit board with the cylindrical black plastic cylinder with wire coiled around it and a "100" printed on top faces the side of the metal emitter head which has writing on it. And getting it backwards doesn't seem to fry the electronics if you don't try it for too long.
I placed the emitter in the back end of the flashlight body and placed 2 AA batteries after the emitter. I then pushed the batteries upwards with my finger. The emitter head is now in the proper place. I got the black ring and pushed it through the front end of the body and with a gentle push, locked the head in place. I then tried the flashlight, IT WORKS!!!!
the end

1 comment:
Get online coupons and promo codes for your favorite online stores at Codescoupon.blogspot.com
Post a Comment